Disable Logging into OPNsense as the Root User

Photo by StockSnap from Pixabay

Table of Contents
After installing OPNsense, the default login is the root user. Logging in as the root user is generally not advised because the root user has full access to files and processes.
Linux users, for instance, are asked to create a separate user account upon installation. The user can then use the sudo command to elevate privileges to perform administrative tasks. If the user’s account is compromised, in theory the root account is still protected (assuming there is no privilege escalation vulnerability being exploited or the password has been discovered).
OpenSSH has an option to disable root user access for the SSH server. It prevents logging in directly as the root user as a security mechanism. OPNsense, being built upon FreeBSD, is no exception to this recommendation.
Create a New Administrator Account
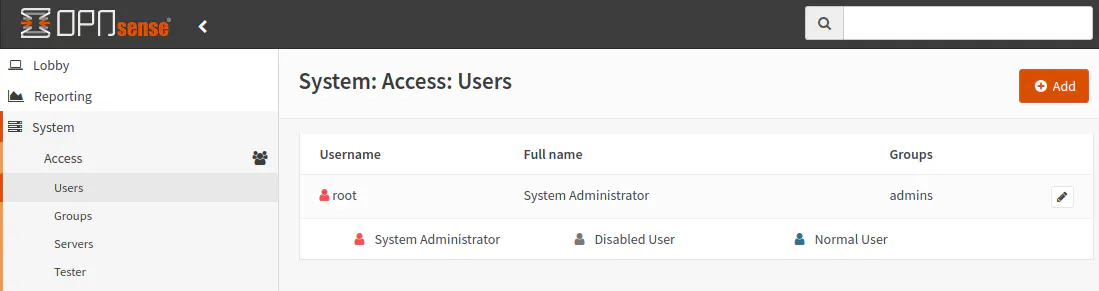
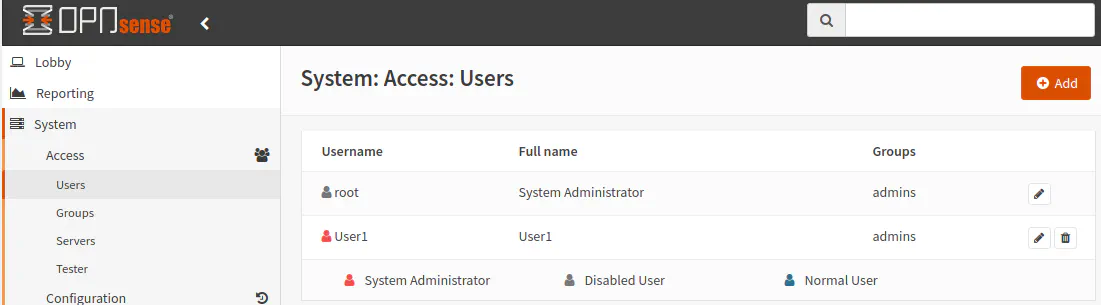
If you go to “System > Access > Users”, you should see the default root user listed:
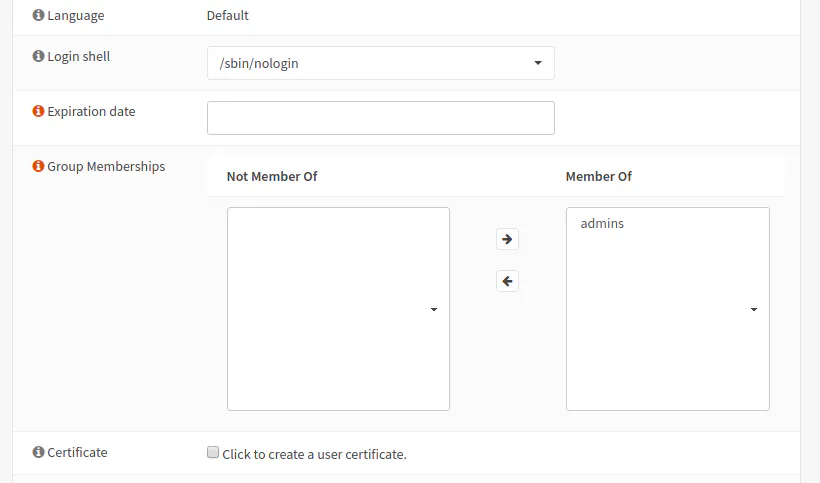
Before you can disable the root user account, you need to create a new user account that is set as an administrator. When you are creating a new administrator, the most important section is the “Group Memberships” section. It is here where you need to move the “admins” group from the left to the right box:
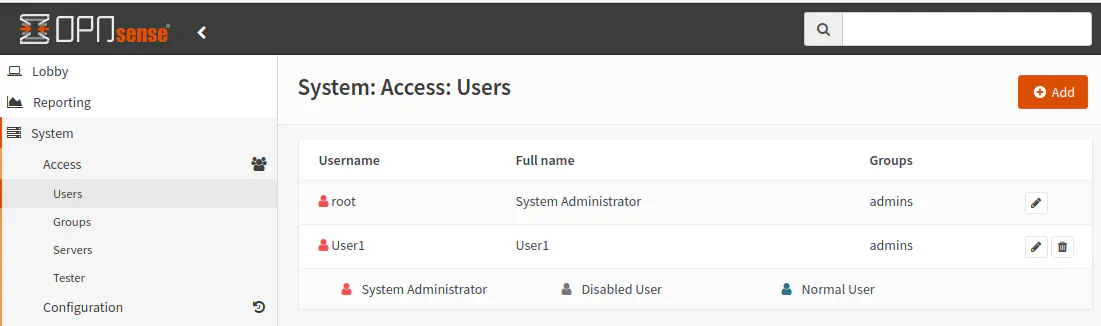
Once you add the new user, you will notice you have two administrator accounts:
Disable Root User
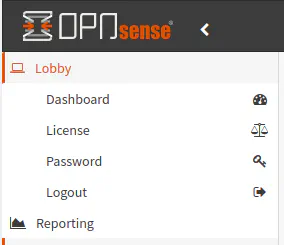
Now that the new administrator user has been created, you will need to logout of the root account and then log into the new administrator account. The logout link is located under the “Lobby” menu.
Note: You cannot disable the
rootaccount (or any other administrator account) while you are still logged in under that account. You will receive an error message that states you cannot disable yourself. This is a safety feature to prevent locking yourself out of the administration web page.
Go back to the “System > Access > Users” page. Now click the edit button beside the root user. Click the checkbox beside the label “Disabled”:
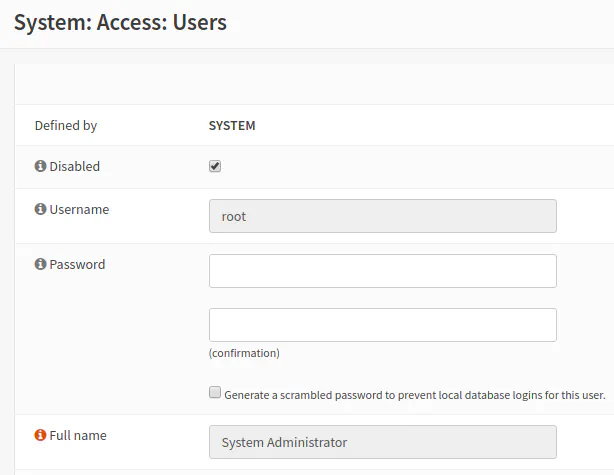
Once you click save and return to the user account page, you should see that the root user is now gray indicating that it has been disabled.
At this point, you will only be able to login with your newly created admin user account!
Optional: Enabling Sudo for SSH Access
If you wish to be able to have sudo privileges when logged in via SSH or the console, you need to enable sudo as shown in the screenshot below. You will find these settings on the “System > Settings > Administration” page in the “Authentication” section near the bottom of the page.
Select “Ask password” for the “Sudo” option. You may also select “wheel, admins” instead of “wheel” to be consistent with the login group for SSH.

When you are logged into SSH via your new administrator account, you can enter sudo su and you will be presented with the same menu options as being signed in as the root user.
You should consider enabling sudo if you are going to disable the root user in case you need to higher level access to make changes or perform deeper diagnostics via SSH.
