Create Self-Expiring Emails in Gmail

Photo by gabrielle_cc from Pixabay
Table of Contents
Getting flooded with unwanted emails is an issue that everyone faces. Hitting the unsubscribe button may help some with the issue. However, there are some emails that would be nice to keep for a short while before they are deleted. For example, I like getting emails with discounts for various online stores, but I do not want them cluttering my email account. The discounts tend to expire within a few days or a week. Another type of email that I like to expire is system generated reports/logs that show information, errors, or warnings. Would it not be nice have those emails purge themselves automatically after a set amount of time?
Once I realized that there is not a good built-in feature in Gmail to accomplish this task, I started looking into writing a script via Google Apps Scripts. I discovered an example similar to what I was wanting to accomplish (it was so long ago that I do not know the source reference), and I tailored it to meet my needs. Solving a personal need is one of the great things about software development and scripting!
Another great thing about software development is that you can share it with others! Let us get started!
Create a New Google Apps Script
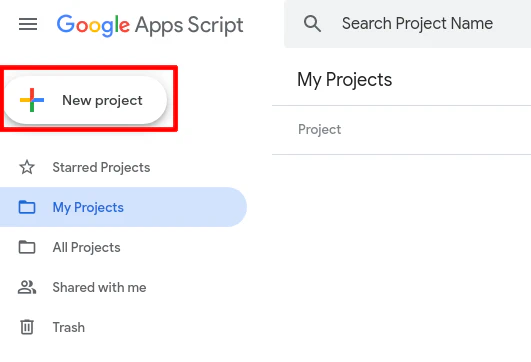
To create a new Google Apps Script, go to the page https://script.google.com and click on the “New project” button.
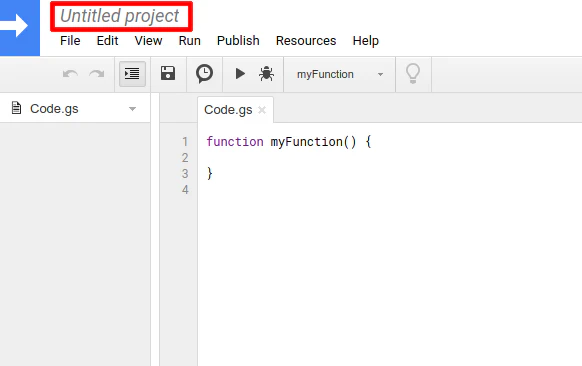
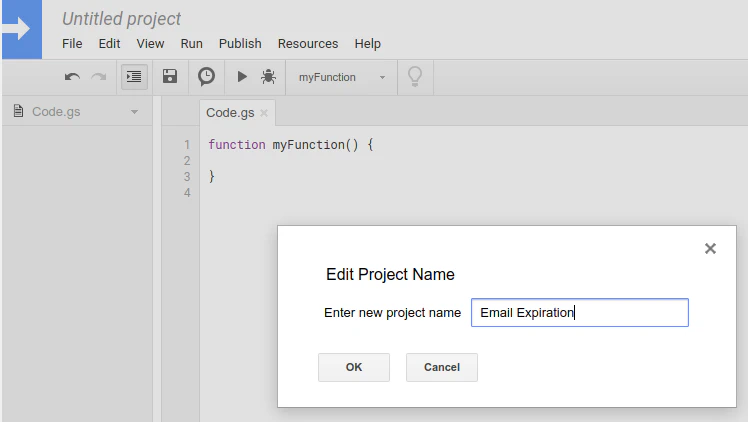
Click on “Untitled project” to give the project a name.
I used the name “Email Expiration” for this example.
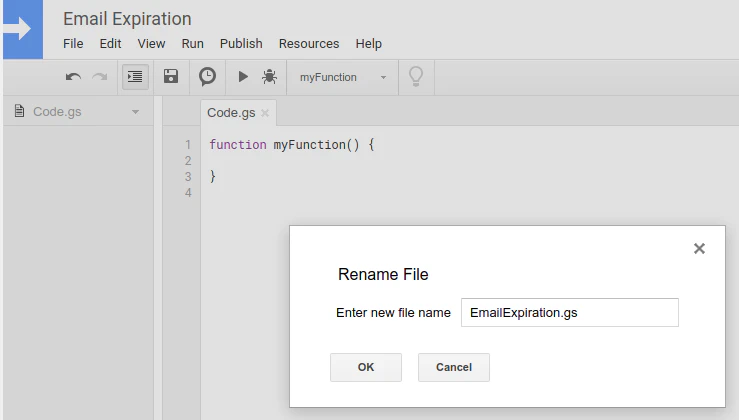
To rename the default filename click on the down arrow beside the “Code.gs” filename. Then click “Rename”.
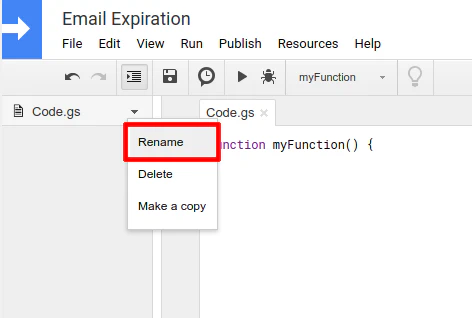
I used the filename “EmailExpiration.gs”.
It is time to code!
Write the Code
Below is the code that you will need to copy/paste into your script. You will need to customize it to meet your personal requirements. I am using the example of marketing emails (for deals, coupons, etc). It assumes you have a label called “Marketing” or sub-labels underneath the “Marketing” label, but you may change it to the appropriate label. See the detailed description below the script on how to customize the script.
// Email expiration script
function expireMessages() {
  // Number of days before emails are moved to trash
  var marketingDelayDays = 10

  // Set the expiration date (emails older than this date will be deleted)
  var marketingMaxDate = new Date();
  marketingMaxDate.setDate(marketingMaxDate.getDate()-marketingDelayDays);

  // Get all of the labels
  var labels = GmailApp.getUserLabels();

  // Iterate through all of the labels to find the one(s) that should have emails that expire
  for (var i = 0; i < labels.length; i++) {
    // Get the current label
    var labelName = labels[i].getName();
    var label = GmailApp.getUserLabelByName(labelName);

    // Look for all emails with the "Marketing" label and any sub-label under "Marketing"
    if (labelName.substring(0, 9) == "Marketing") {
      // Get all of the emails tagged with the current label
      var threads = label.getThreads();

      // Iterate through each email under the "Marketing" label/sub-labels
      for (var j = 0; j < threads.length; j++) {
        // Check if the email is older than the expiration date and delete it if it is older
        if (threads[j].getLastMessageDate() < marketingMaxDate) {
          threads[j].moveToTrash();
        }
      }
    }
  }
}
The first value you may want to change is the variable “marketingDelayDays”. It is set to 10 days. This is how long you wish to keep an email before expiring the email and move it to the trash.
You will likely want to change the label from “Marketing” to whatever label you wish. Keep in mind that all of the sub-labels will be included. If you only want to include the sub-labels but not the parent, add a “/” to the “Marketing” label like so “Marketing/”. When you change the label, you need to also change the substring function to the appropriate length. Change the “9” to length of the text string. For instance, if you want to change “Marketing” to “Coupons”, you need to use “labelName.substring(0, 7)” instead of “labelName.substring(0, 9)”.
If you have more than one label which you want to expire (on the same expiration date), simply add to the “if” statement like so:
    if (labelName.substring(0, 9) == "Marketing" || labelName.substring(0, 7) == "Coupons") {
      //...
If you have another label that you want to have a different expiration date, you can create new variables below the existing variables, and create a separate “if” statement using the new variables. It follows the same structure as above.
  //... existing variables

  // New variables
  var dealsDelayDays = 10
  var dealsMaxDate = new Date();
  dealsMaxDate.setDate(dealsMaxDate.getDate()-dealsDelayDays);

  // Existing "for" loop
  for (var i = 0; i < labels.length; i++) {
    //...existing labels to expire

    // New labels to expire
    if (labelName.substring(0, 5) == "Deals") {
      var threads = label.getThreads();

      for (var j = 0; j < threads.length; j++) {
        if (threads[j].getLastMessageDate() < dealsMaxDate) {
          threads[j].moveToTrash();
        }
      }
    }
    //...
The method of adding different expirations mentioned above works well enough if you have only a few labels. If you are planning to expire a bunch of labels at several different dates, you may want to take a different approach to minimize repeating the same basic code structure. For a quick and easy script for only a few labels, it is not really necessary to put the extra effort especially if you rarely need to update and maintain the code. I find that I do not need to change the script much because if I add new sub-labels under existing label that are set to expire, the emails will automatically be purged by the script since the script does not have the sub-labels hardcoded.
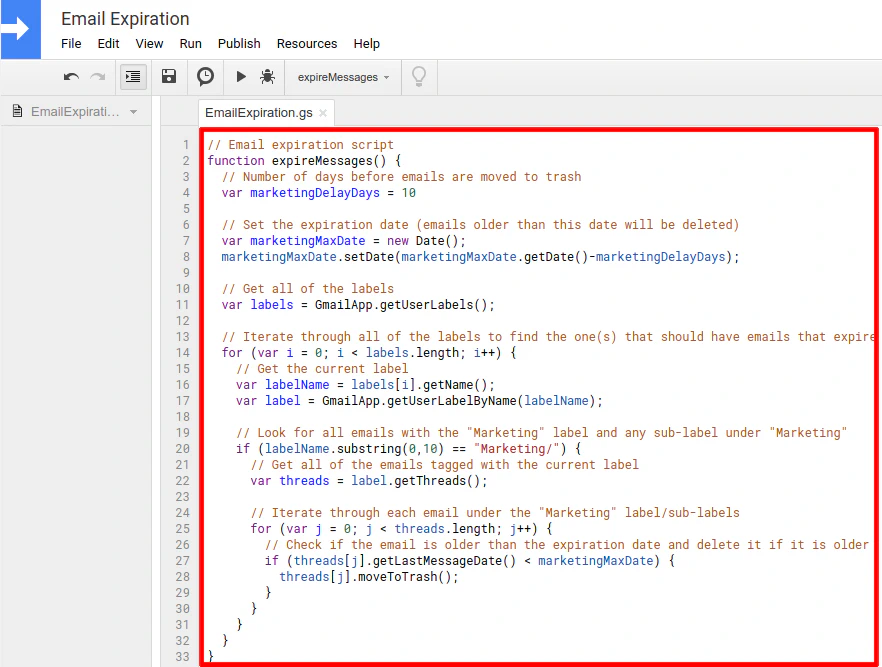
In case you would like a visual, the code pasted above should look like the following in the script editor:
Run and Test the Script
Once the script has been written, you may test the script by running it and checking to see if the emails disappear from the label and show up in the trash can. The script does not permanently delete the emails so if you make a mistake, you can restore your emails from the trash (so no need to panic if you make a mistake but you should still be careful since it can still be a pain to restore a bunch of emails from the trash especially if it is mixed with other deleted emails).
To run the script, you will be prompted several times by Google – they really want you to know the risks of running a script/app that is not reviewed by Google. It is ok to approve the script in this case because we wrote it! You only need to go through this process once (thankfully).
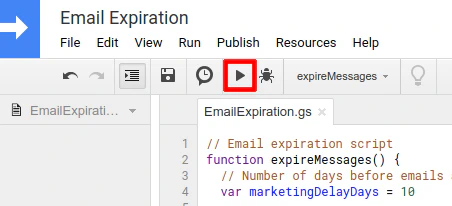
To start the approval process for the script, you can either click the play button …
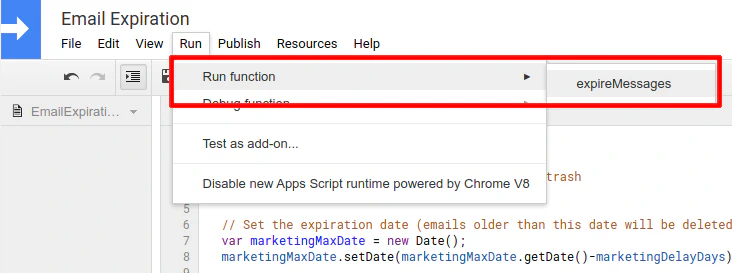
… or click the “Run > Run function > expireMessages” menu option.
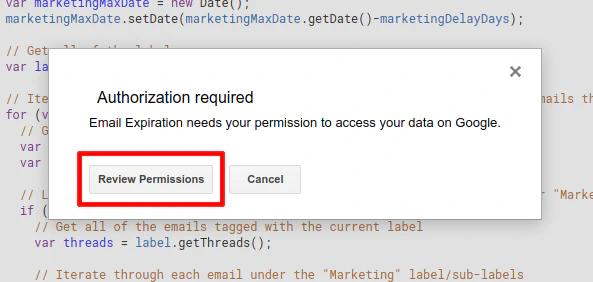
Click “Review Permissions” on the “Authorization Required” dialog box.
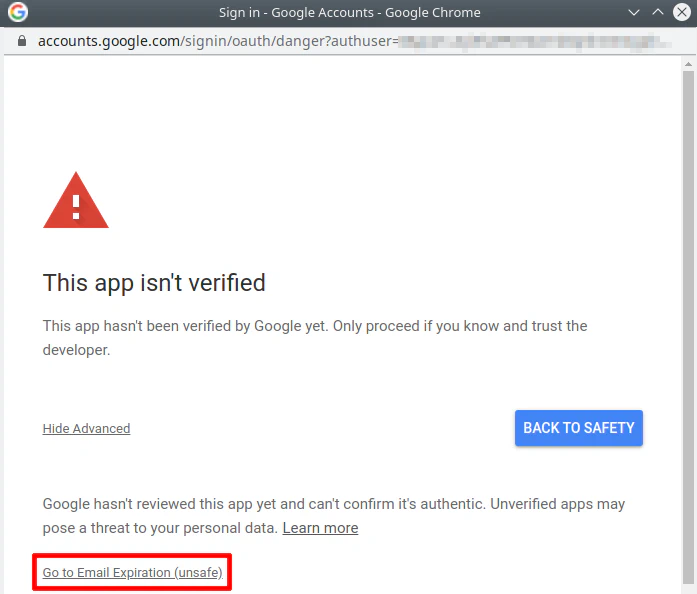
On the “This app isn’t verified” page, click the “Advanced” link.

You will see a new link appear: “Go to Email Expiration (unsafe)”. Click that link.
Finally, you can allow the script access to your Google account. Do not let the description of the permission alarm you: “…permanently delete all your email from Gmail”. If you tweaked the script properly, that will not happen. Also the script does not permanently delete emails. It just moves them to the trash in case you want to recover them. Google cleans up emails in the trash that are older than 30 days automatically so you do not need to empty it yourself.

At some point during the authorization, you may be asked to select the Google user account. I did not show that step but users of Google should be familiar with it. It is possible it prompted me for the user because I have more than one Google account signed into Google.
(Optional) Debugging the Script
If you are having an issue and need to debug the script, you can add breakpoints by clicking beside the line number. A red dot appears. The program will stop on that point if that line of code is getting ready to be executed. You can then see the values of the variables and other objects in the code.
I will not describe all the details in this how-to as I figure if you are familiar enough with a debugger, you probably do not need my help to use it. Also the script is simple enough to understand, tweak, and the verify the results, that most of you should not need to debug the script.
Schedule Daily Execution of Script
One last step is that the script needs to be set up to execute at least once daily in order for emails to automatically expire without you needing to manually execute the script. After all, this is the entire point of writing the script – automating email expiration.
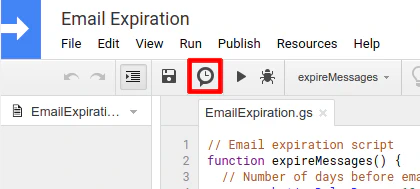
From the script editor page, click on the clock icon. This is where you configure script triggers – events that cause the script to run. For this script, a time based trigger is what is needed to run the script daily.
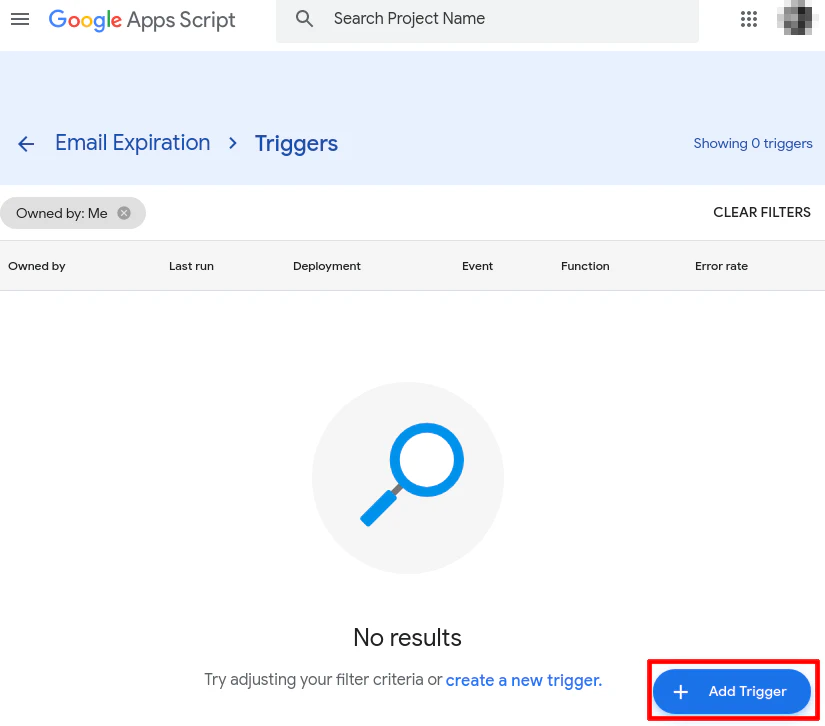
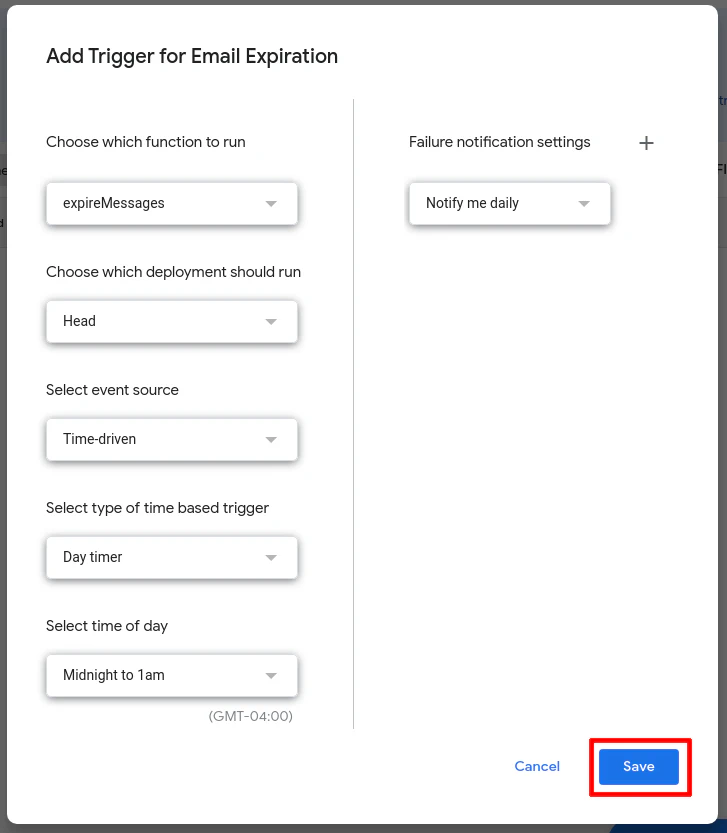
You will be taken to a list of triggers for the script. There should be none in the list since you just created the script. Click “Add Trigger”.
The default settings should be good except how often to run it. Set it to “daily”. You can set a different time of day, but “midnight to 1am” is probably a good setting since it will purge anything 10 days older than the 11:59pm (or 23:59) of the prior day. Click the “Save” button to save the trigger.
Email expiration should be fully configured at this point! Now you can enjoy a cleaner inbox and perhaps take advantage of some of the coupons/deals/discounts from your marketing emails!
(Optional) Keep Your Inbox Cleaner with Filters
To maximize the value of email expiration, you should create filters to automatically sort the emails you wish to expire. Rather than unsubscribe to all marketing emails, I allow many of them to reach my inbox (for companies in which I am a regular customer). The filters automatically apply the proper label and removes it from the inbox to significantly reduce the inbox clutter. The email expiration script then purges emails older than 10 days so the junk/marketing emails stay current and do not accumulate.