How to Install and Configure OPNsense on the Gowin R86S
Photo by shironosov from iStock
Table of Contents
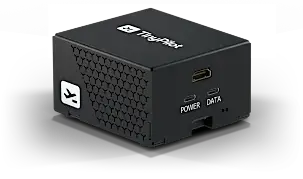
If you decide to purchase a Gowin R86S mini-PC, you may wish to install OPNsense so you can use it as your router/firewall. The R86S comes preinstalled with OpenWRT, but you can install your software of choice on the device.
Download OPNsense
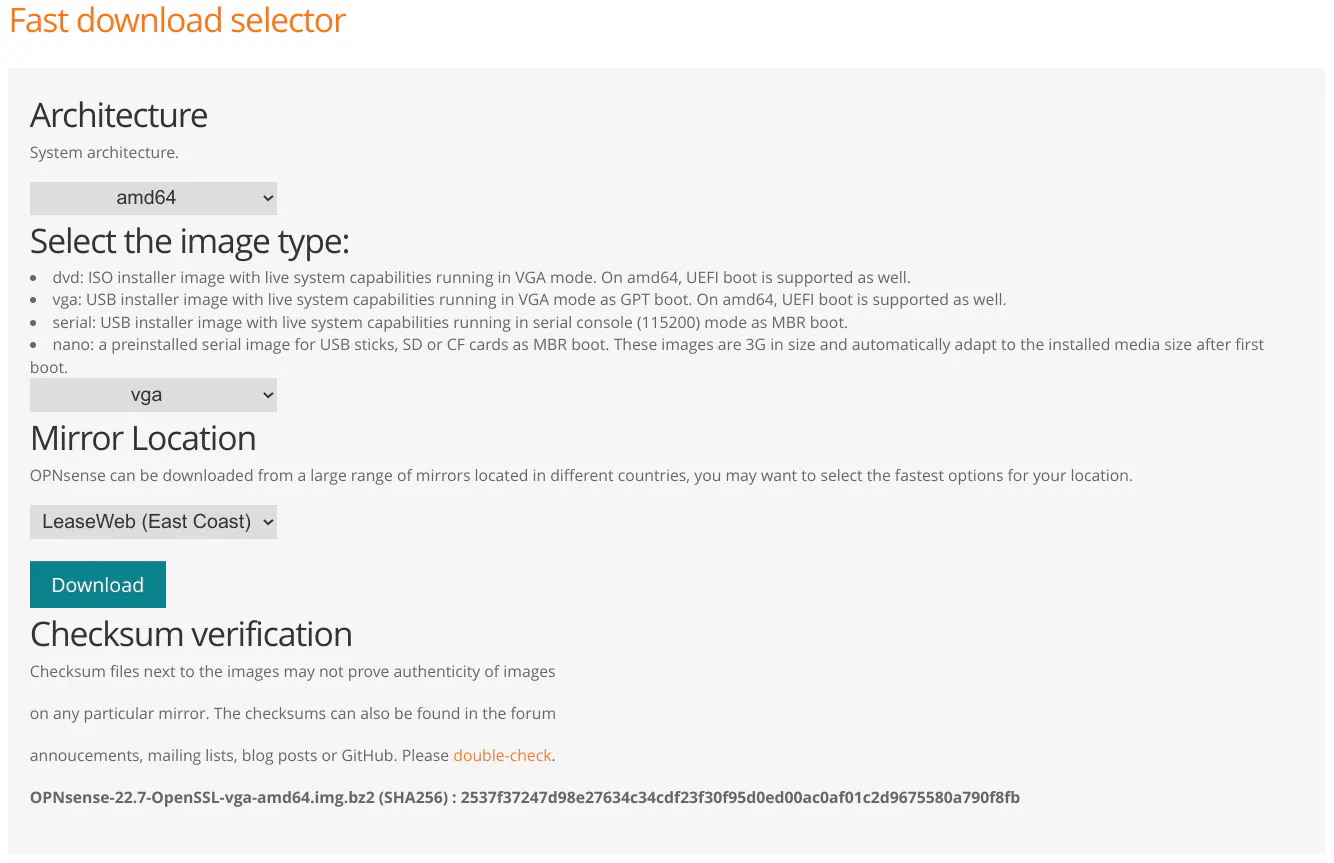
You may download OPNsense on their download page. You will need to download the default “vga” version of the installer since you will be using a USB drive to install OPNsense.
Choose a mirror that is close to your location so the file will download faster and then click “Download”.
Flash USB Drive
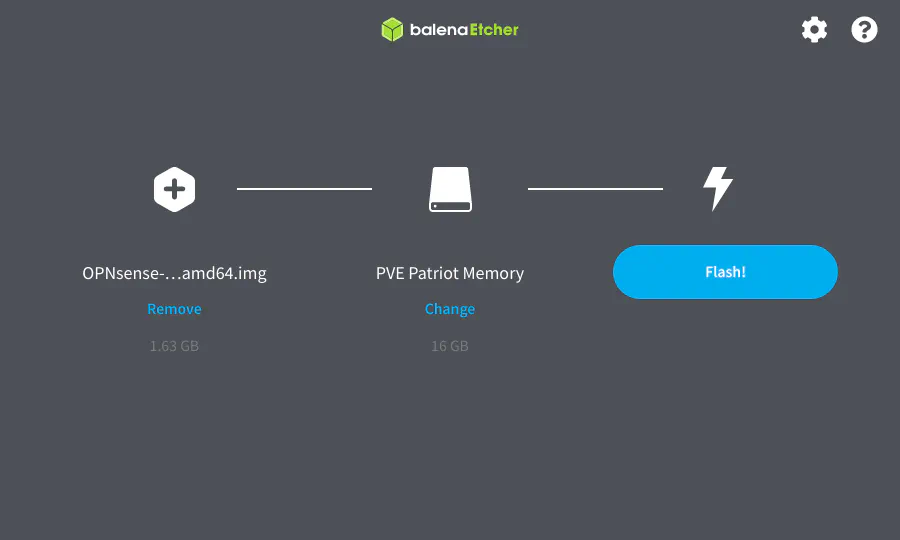
Once OPNsense is downloaded, you will need to flash the USB drive with the installer. I prefer to use Etcher because it is a simple tool which works great. One nice feature is that you do not need to extract the image from a compressed file (if it is a format recognized by Etcher), which saves some time and disk space. Simply choose the compressed OPNsense file, the USB drive, and then click “Flash!”.
Plug the USB drive into the R86S.
Install OPNsense
When booting up the R86S, you the R86S logo will be displayed.

You will need to enter the BIOS so that you will be able to boot off of a USB drive since it is not configured by default. Enter the BIOS by pressing the “Delete” key while the logo is being displayed.
Tip
If you wish to see the traditional BIOS boot screen, you can disable the “Quiet Boot” option which is located in the “Boot” menu in the BIOS.
In the BIOS, you have to set it to boot off of the USB drive since it is not configured by default. Go to the “Boot” menu by pressing the “right arrow” key several times. You will see it is set to boot from the eMMC hard disk by default. Press “Enter” so you can select a different boot device.
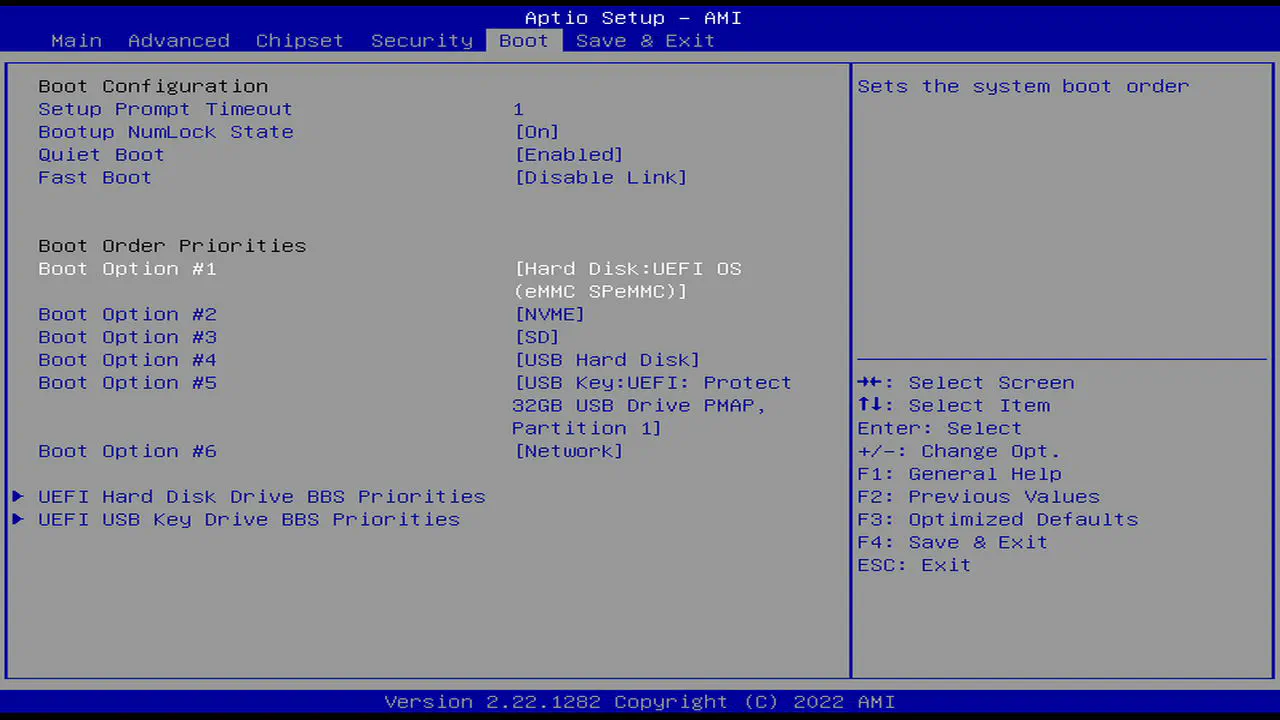
Select the “USB Key” option if you are using a USB flash drive. There is also a “USB Drive” option which may be used for external hard drives. It seems as though external USB hard drives are recognized separately from USB flash drives so you need to ensure you are selecting the correct option or you will not be able to boot from your USB drive. You will also notice the name of your USB drive so that can help you choose the proper device.
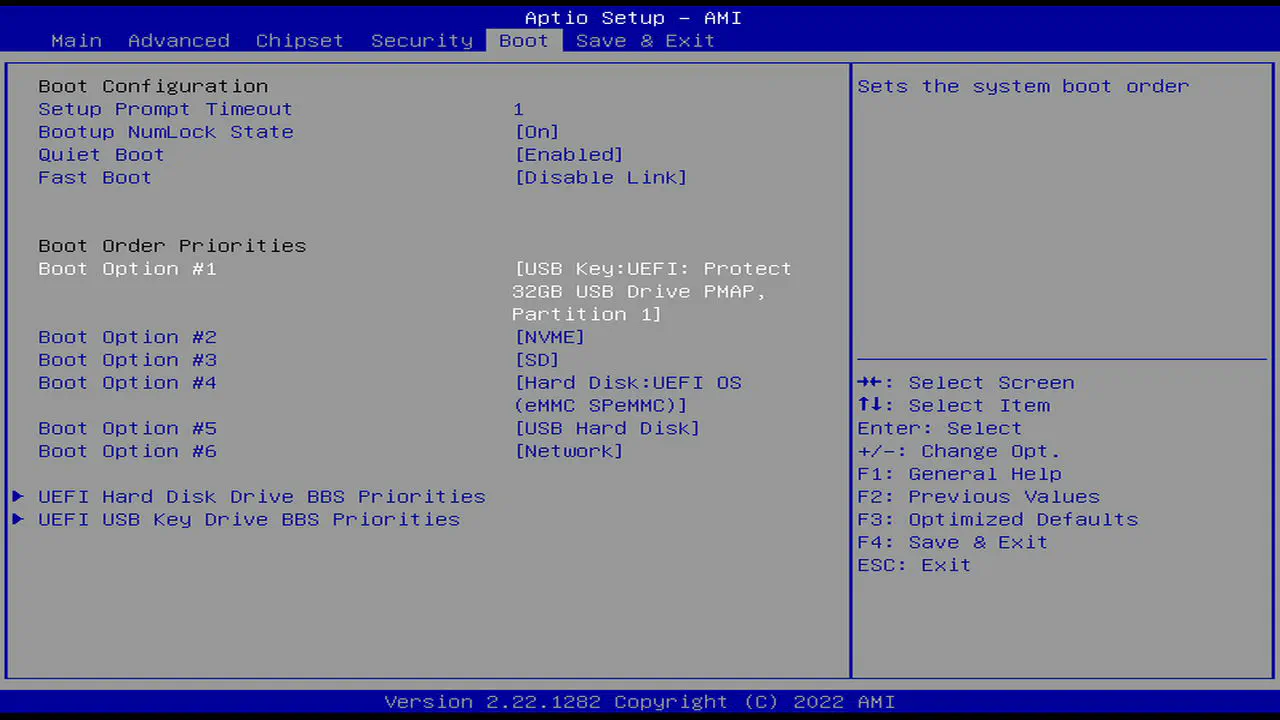
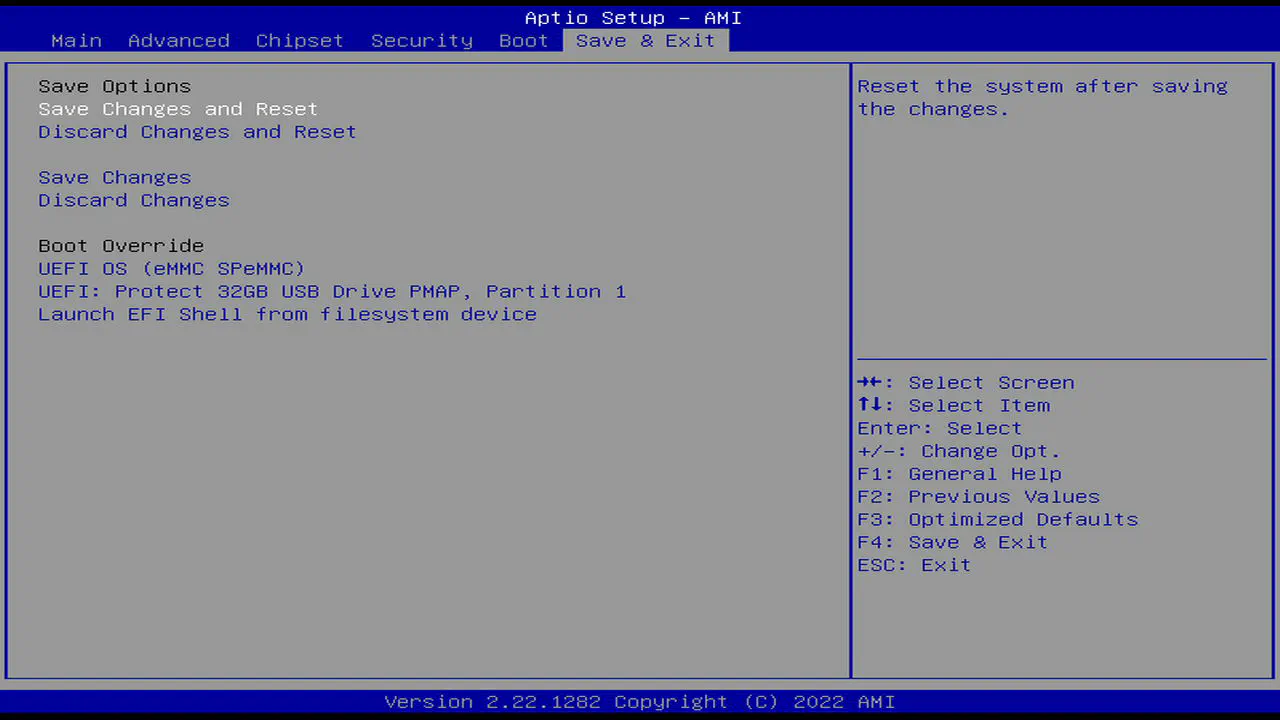
Press the “right arrow” key and select “Save Changes and Reset” to reboot the R86S.
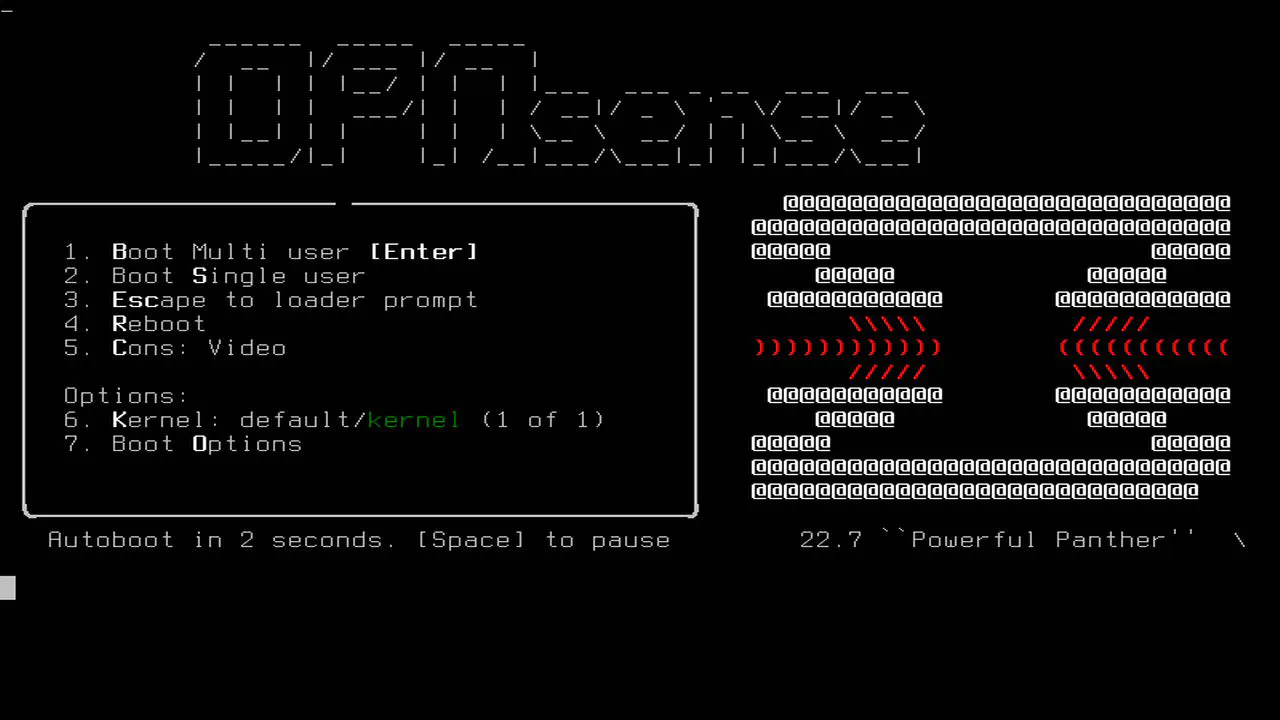
If you are booting off your USB drive, you will see the default OPNsense menu below. It only shows for a few seconds and you do not need to enter any options to proceed.
You will be prompted if you want to start the configuration importer. Since I am discussing a new installation, wait a few seconds for the installer to continue since there is no configuration to import.
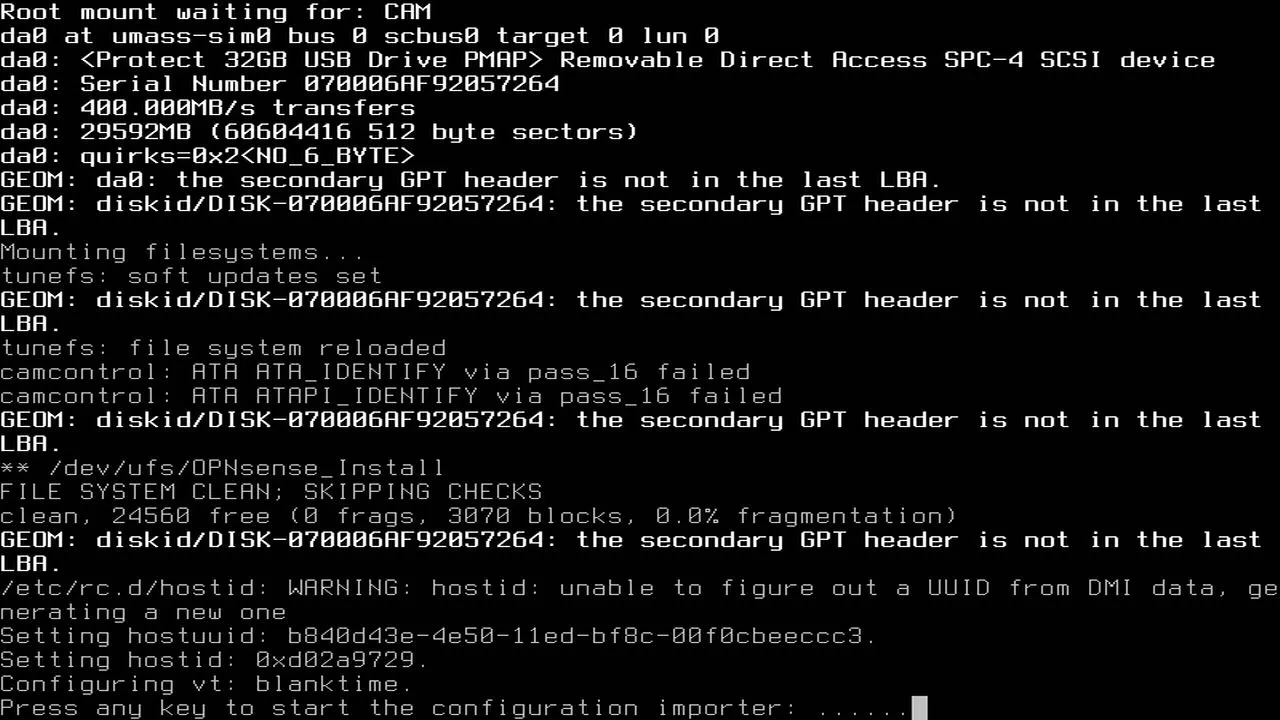
Press any key to manually assign interfaces. You only have a few seconds to hit any key. By manually assigning interfaces, you can ensure the correct interfaces are selected for the WAN and LAN.
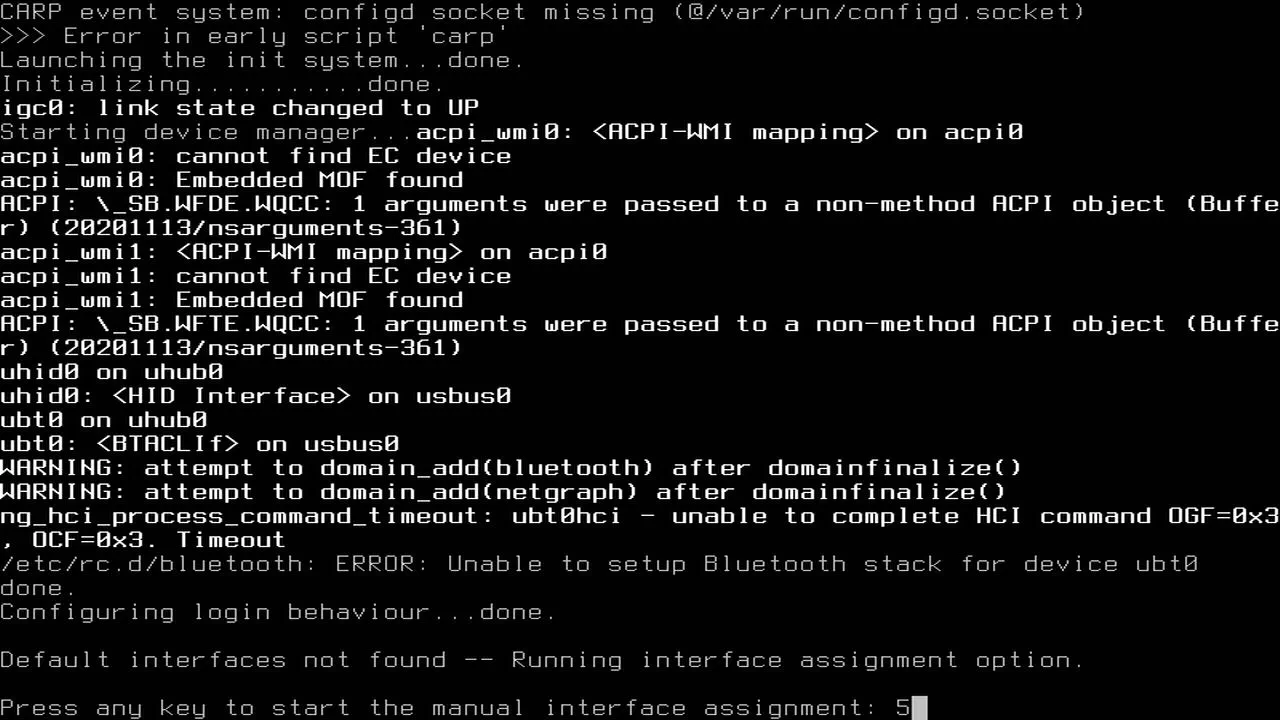
To keep this installation guide more general, I am going to assume you are not going to use a LAGG. You may enter “N” or press “Enter” since “N” is the default value to skip configuring LAGGs.
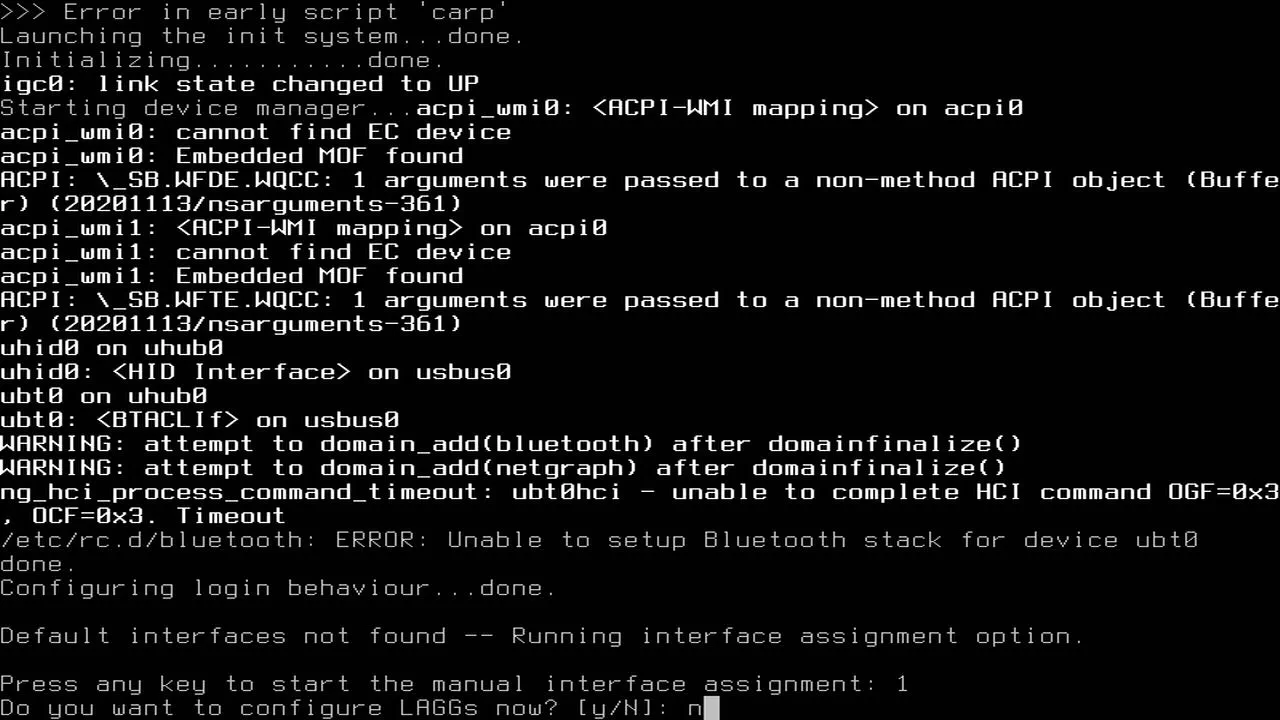
You may skip configuring VLANs as well by entering “N” or pressing “Enter” since you may configure them through the web interface after OPNsense installed.
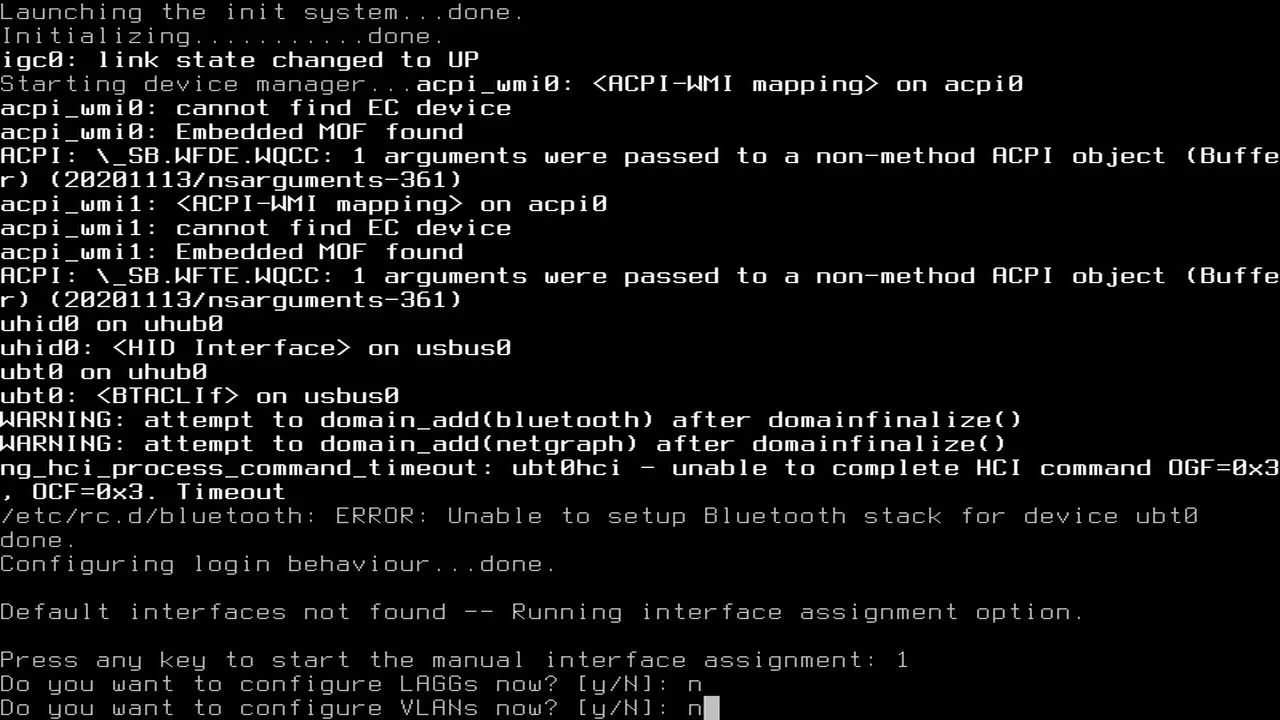
If you are familiar with consumer grade routers, the leftmost Ethernet port is often used as the WAN interface so I will make that assumption going forward. If you have a different preferred order, simply choose different interfaces.
Below is the name of each interface detected by OPNsense and the label printed under the R86S’s Ethernet ports:
| Interface Name | Physical Port Name |
|---|---|
| igc0 | ETH0 |
| igc1 | ETH1 |
| igc2 | ETH2 |
For the WAN interface name, enter igc0 which is the leftmost Ethernet port. Press “Enter”.
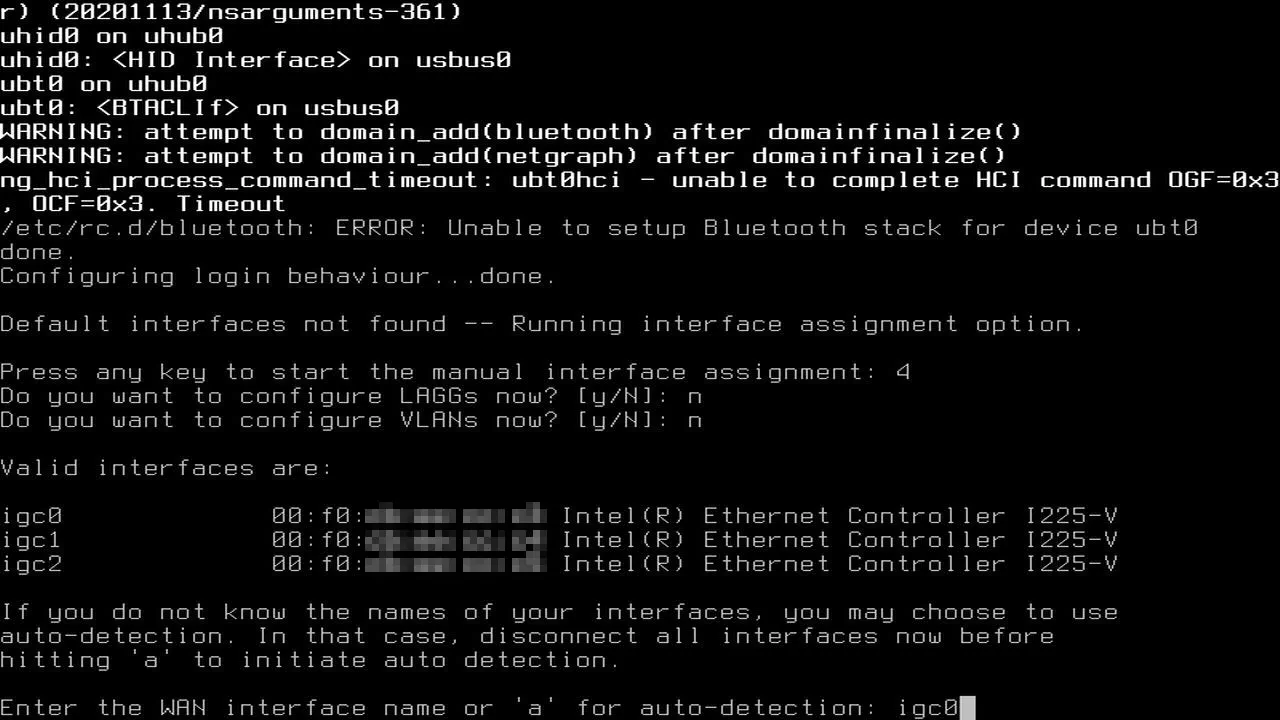
After selecting the WAN interface, you will need to select the LAN interface.
Note
If you need to connect more than one device to your router/firewall device, you will need to use a network switch to plug more devices into it. Unlike a consumer grade router, by default you cannot use all of the extra Ethernet ports as a network switch since the interfaces are treated individually. It is possible to bridge the extra interfaces together so that they act like a network switch, but the packets are routed in software rather than in hardware like a network switch.
You will find that the general recommendation is to avoid bridging interfaces due to decreased network performance under heavy loads for certain hardware configurations. If you are still interested in bridging, you should experiment to see how much performance is decreased when there is heavy traffic on your network before committing to that decision. Otherwise you may be disappointed in performance if your router cannot handle large amounts of network traffic.
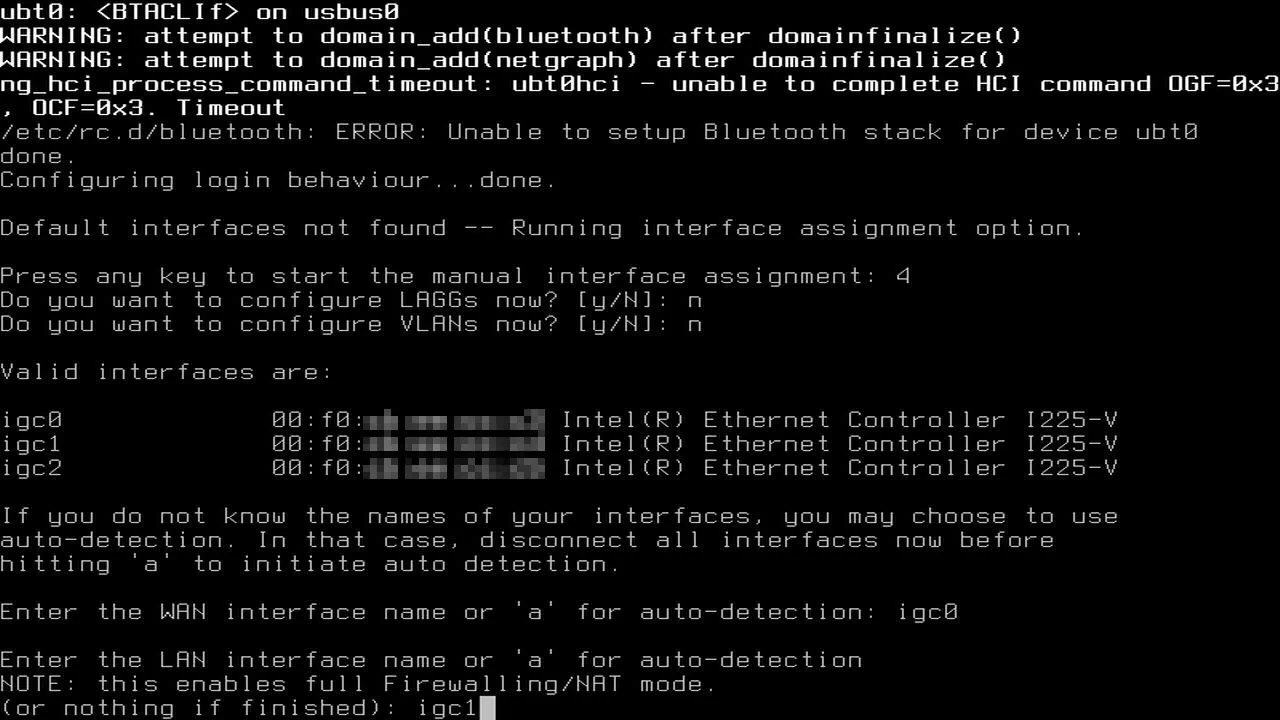
Many home users will only have a single WAN and LAN interface for the most basic home network architecture. Therefore in this example, I am not going to assign any optional interfaces during this guide. Keep in mind that you may still add more interfaces later using the OPNsense web interface after installation.
Press “Enter” without typing anything to continue.
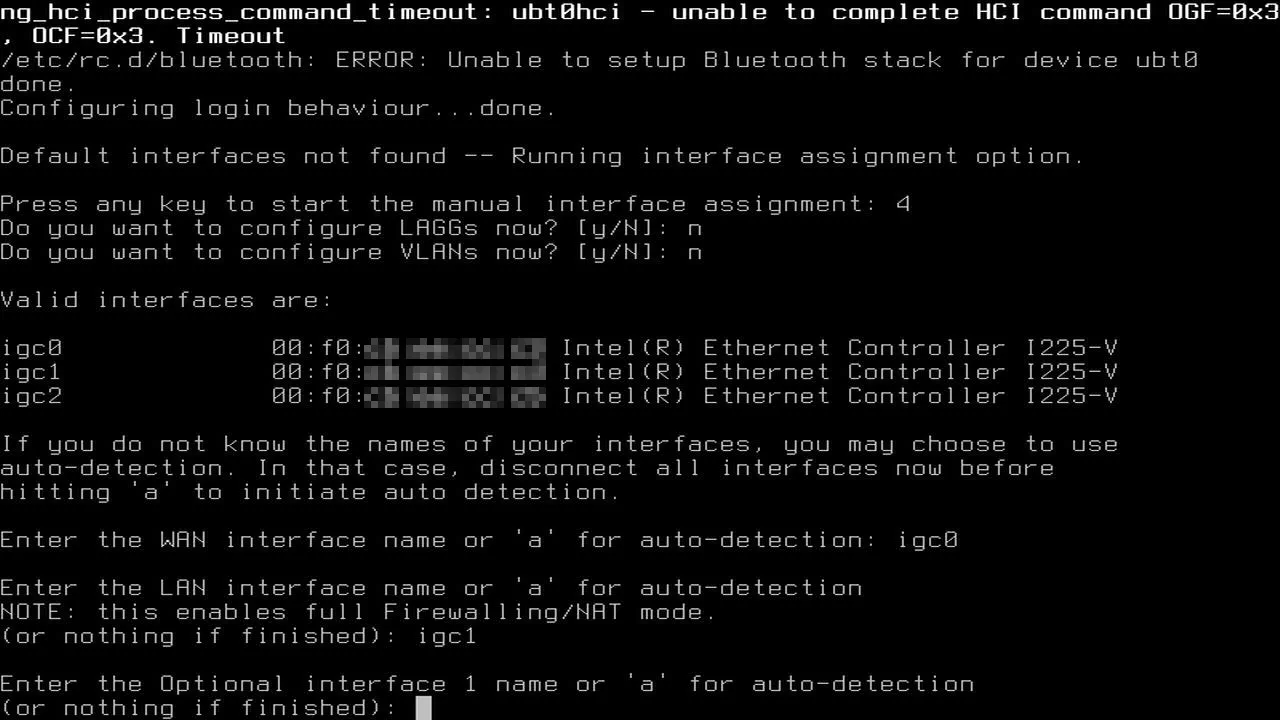
Enter “Y” to continue with the installation.
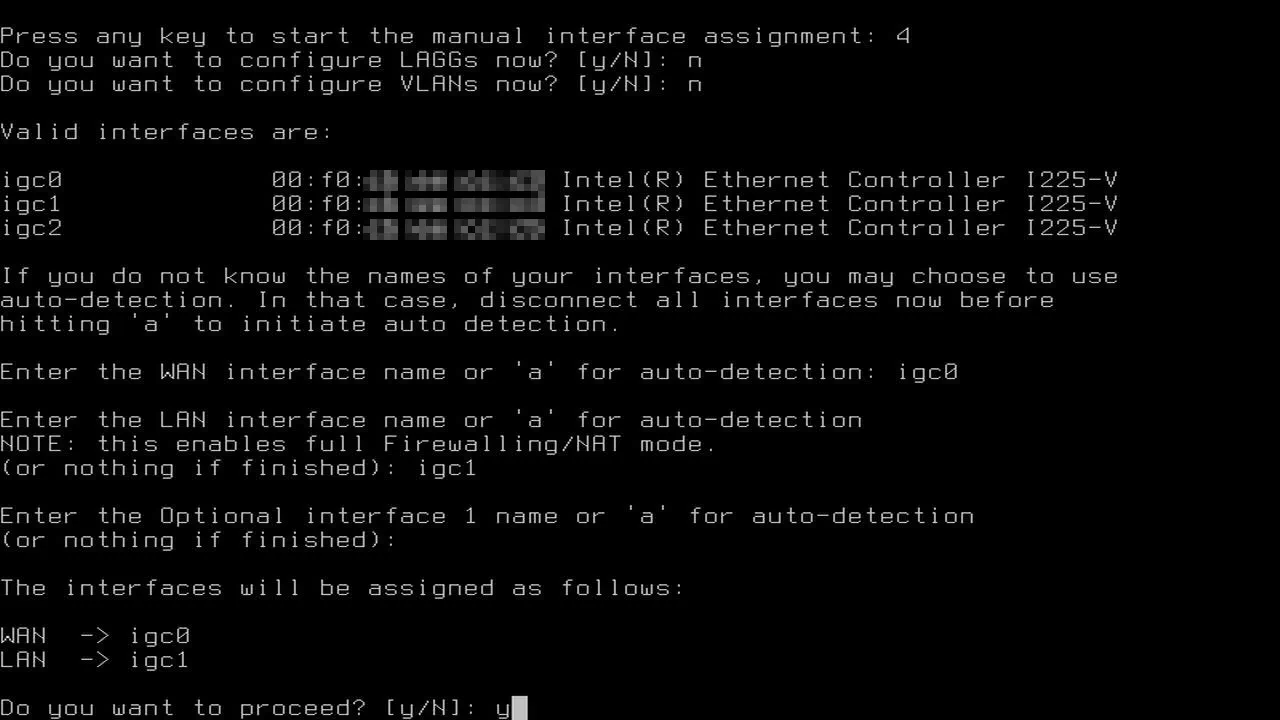
You should now see both of your interfaces listed along with their IP addresses. By default, the LAN interface will be assigned the 192.168.1.1/24 network much like many consumer grade routers.
The WAN interface will use DHCPv4/DHCPv6 by default and you will either see your public IPv4/IPv6 addresses assigned by your ISP or you will see a private IP address on your local network.
If you are plugged directly into your ISP modem, you may see your public IP address assuming your ISP switched over to your new router quickly. That process may take several minutes depending on your ISP since they need to automatically update to the MAC address of your new router. If you are plugged into your primary router while configuring your R86S, you will have a private IP address assigned for the WAN interface. This is perfectly fine while you are getting everything set up if you are planning to use the R86S as your primary router.
Tip
You may want to set up your R86S router with OPNsense while the WAN is plugged into your primary router until you are ready to deploy it as your main router since that allows you to test the configuration without taking down your entire network.
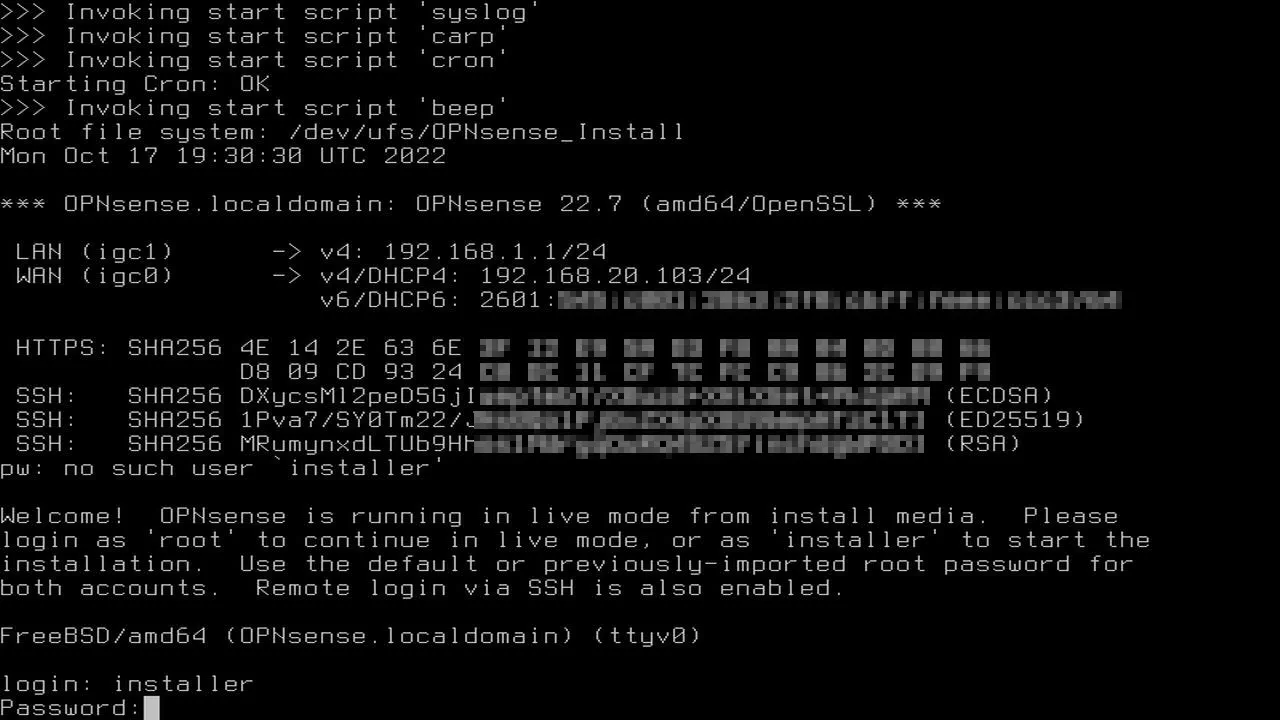
Enter the username of installer and the password of opnsense in order to continue with the installation. Do not login as root because you will end up running OPNsense in “Live Mode” which means OPNsense will not be installed to your system. Live mode allows you to try out the software without installing it on the hard drive.
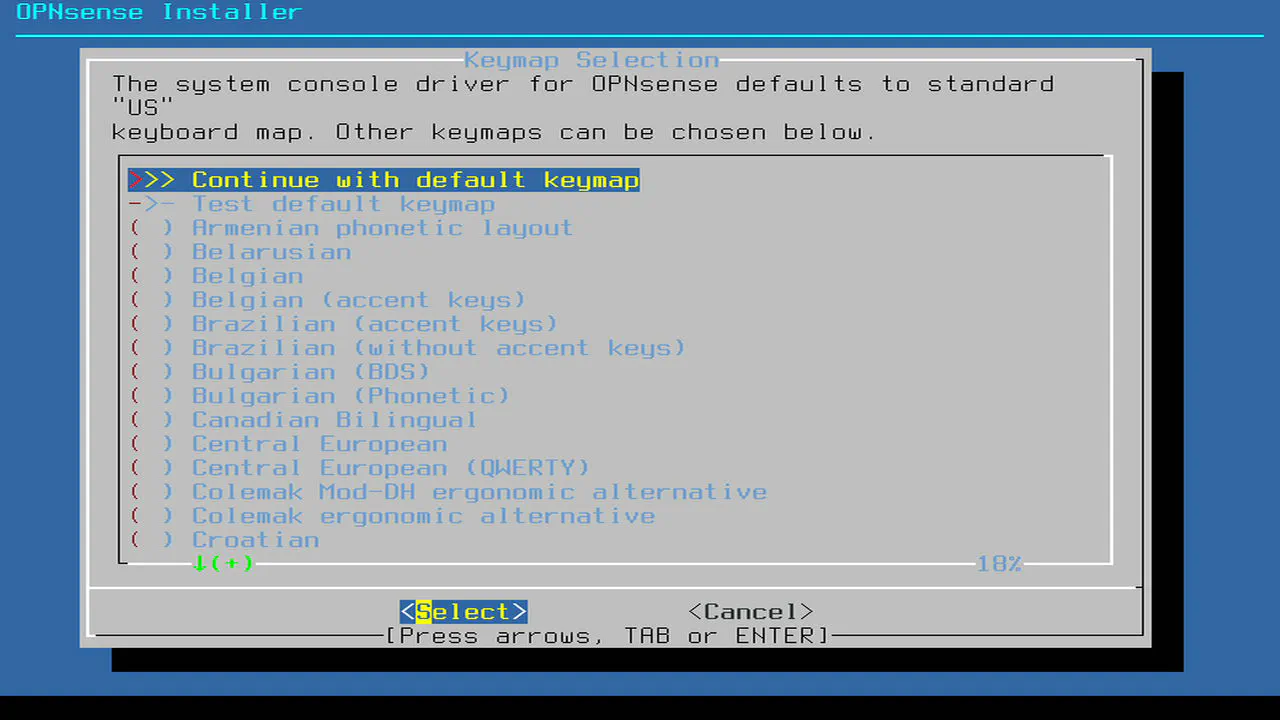
If you are a US user or prefer that keyboard layout, you may simply press “Enter”. Otherwise, you will need to select your preferred keyboard layout.
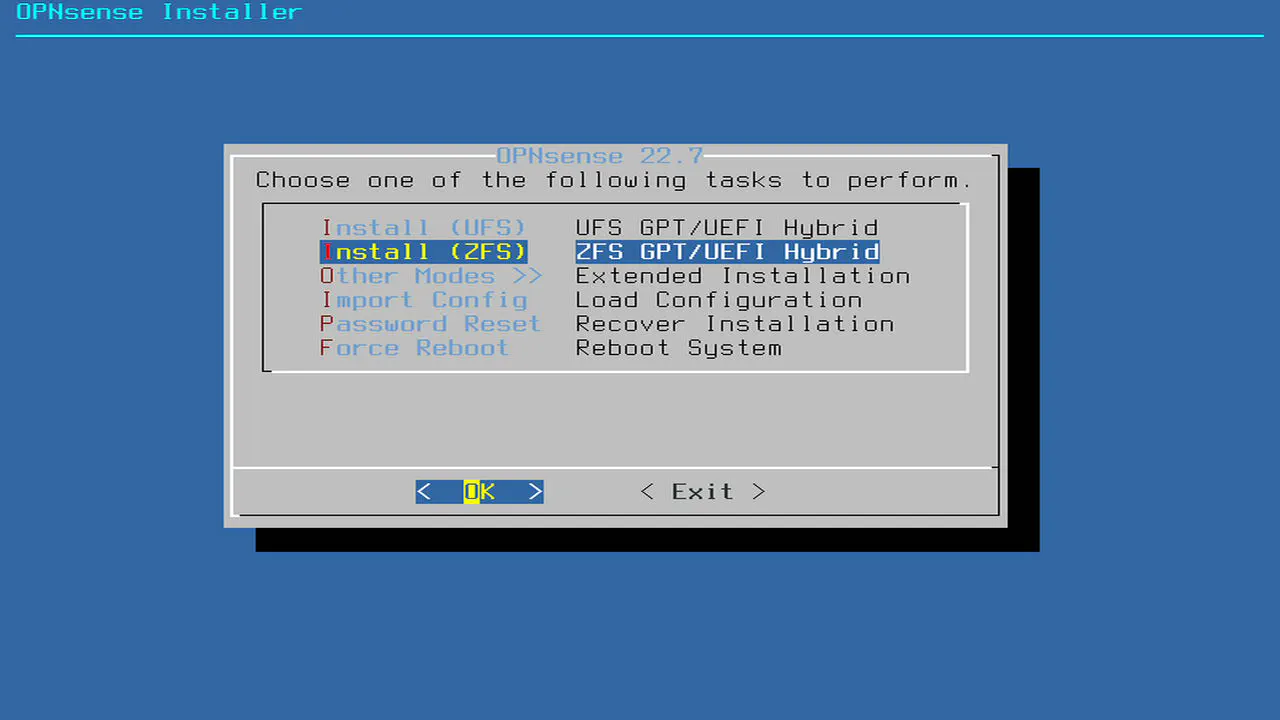
You may choose if you wish to run UFS or ZFS. ZFS is a more robust filesystem than other filesystems so you may want to use ZFS even if you do not understand how ZFS functions.
In my example, I am using the ZFS filesystem.
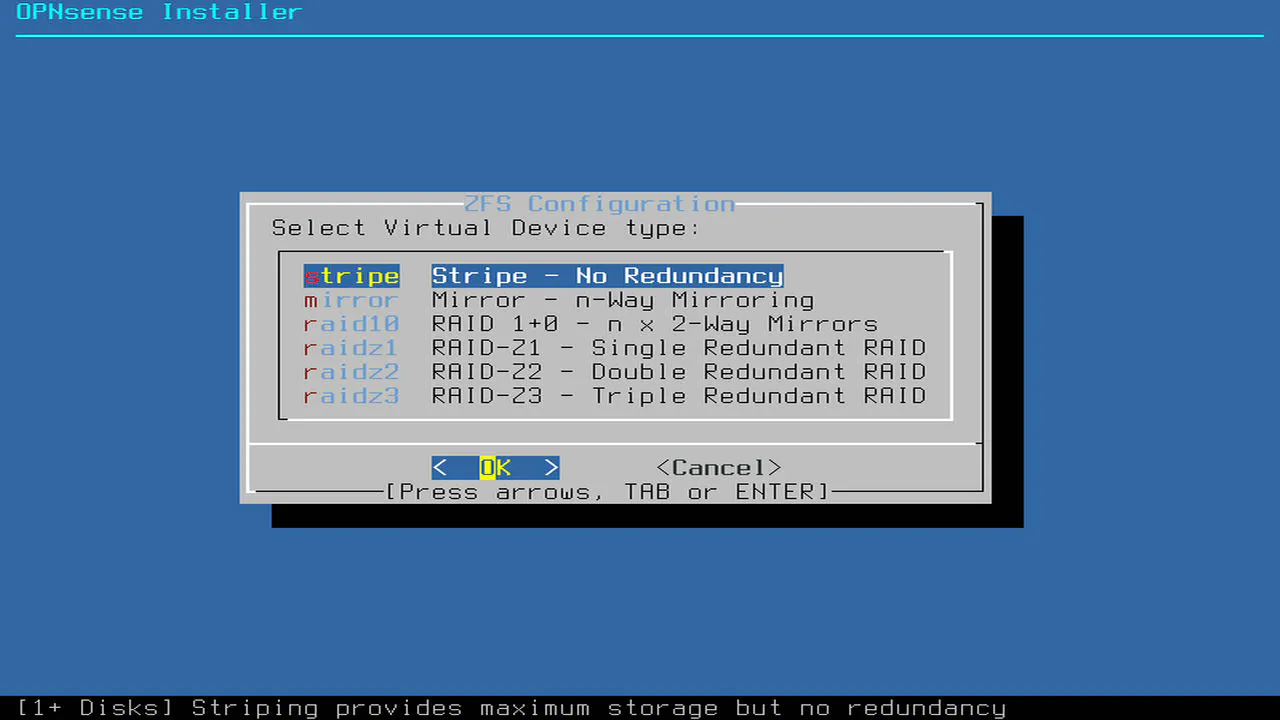
Because there is only one drive in the R86S, simply choose “stripe” even though it is only a single disk.
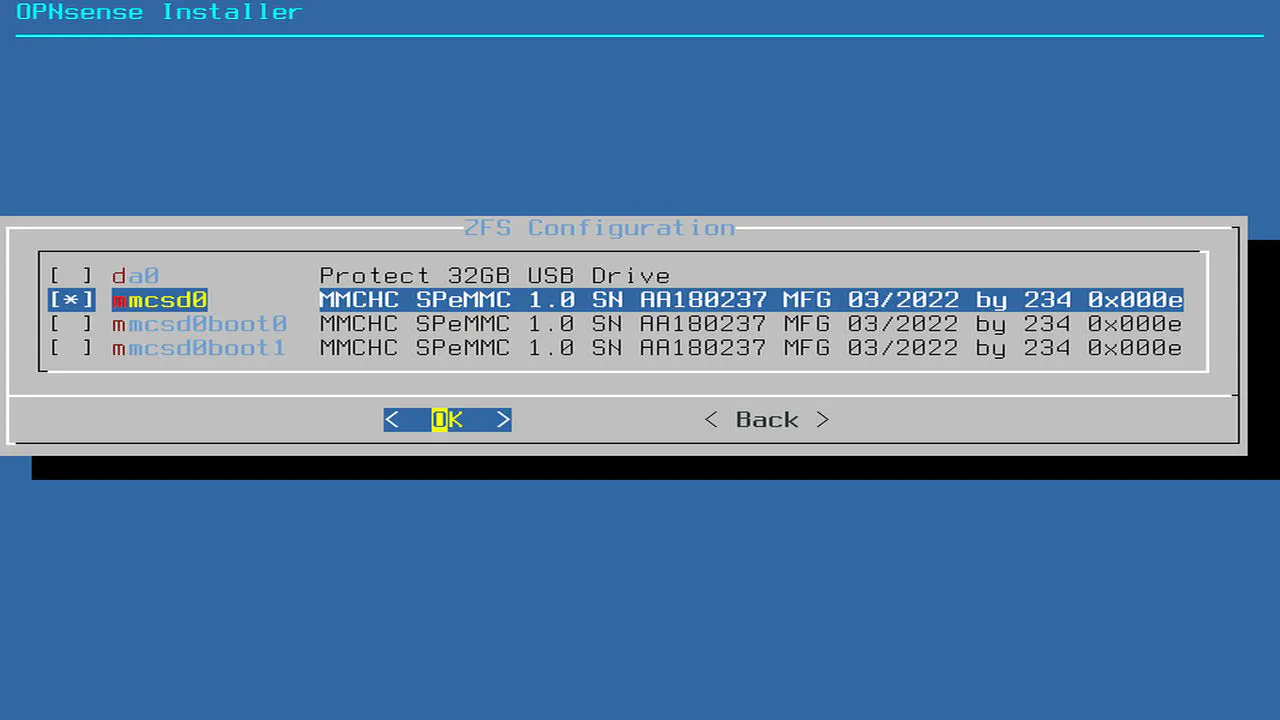
Select the disk which you wish to install OPNsense. Since OpenWRT was preinstalled on the R86S, there will be several partitions listed (along with your USB drive). Simply choose the first entry called mmcsd0 to select the main eMMC disk.
Press “Enter” to erase the disk continue with the installation.
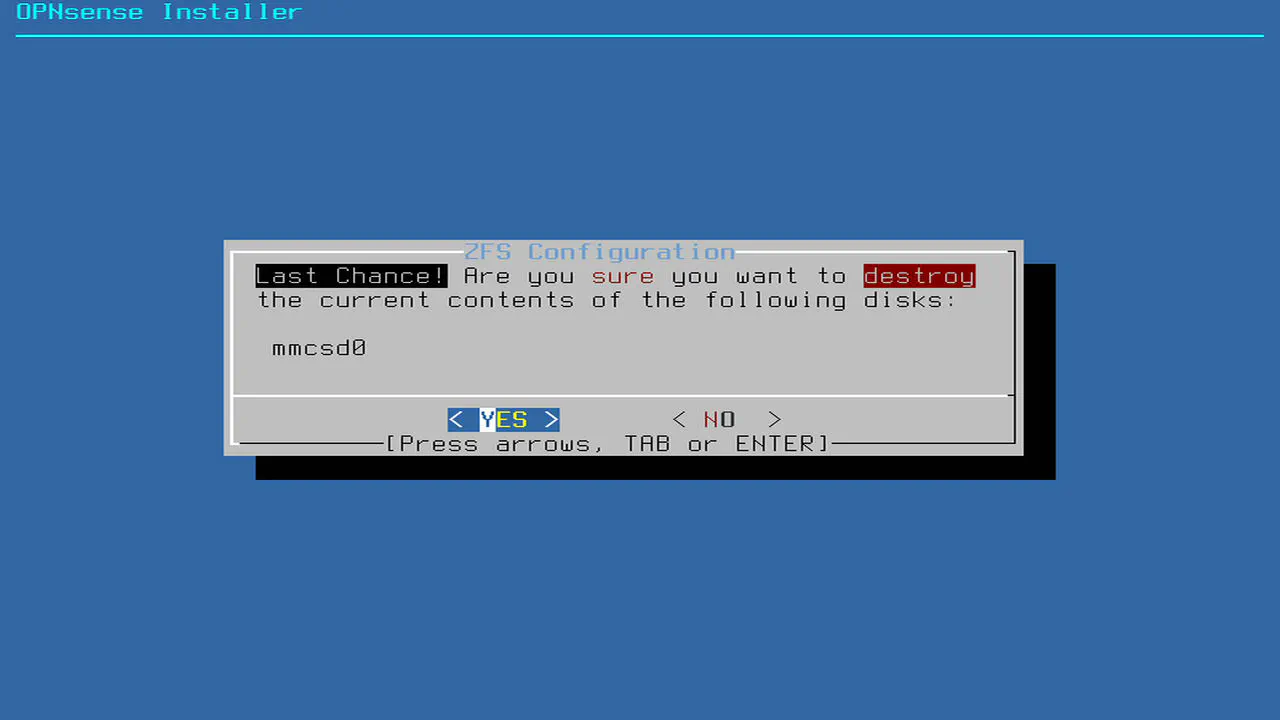
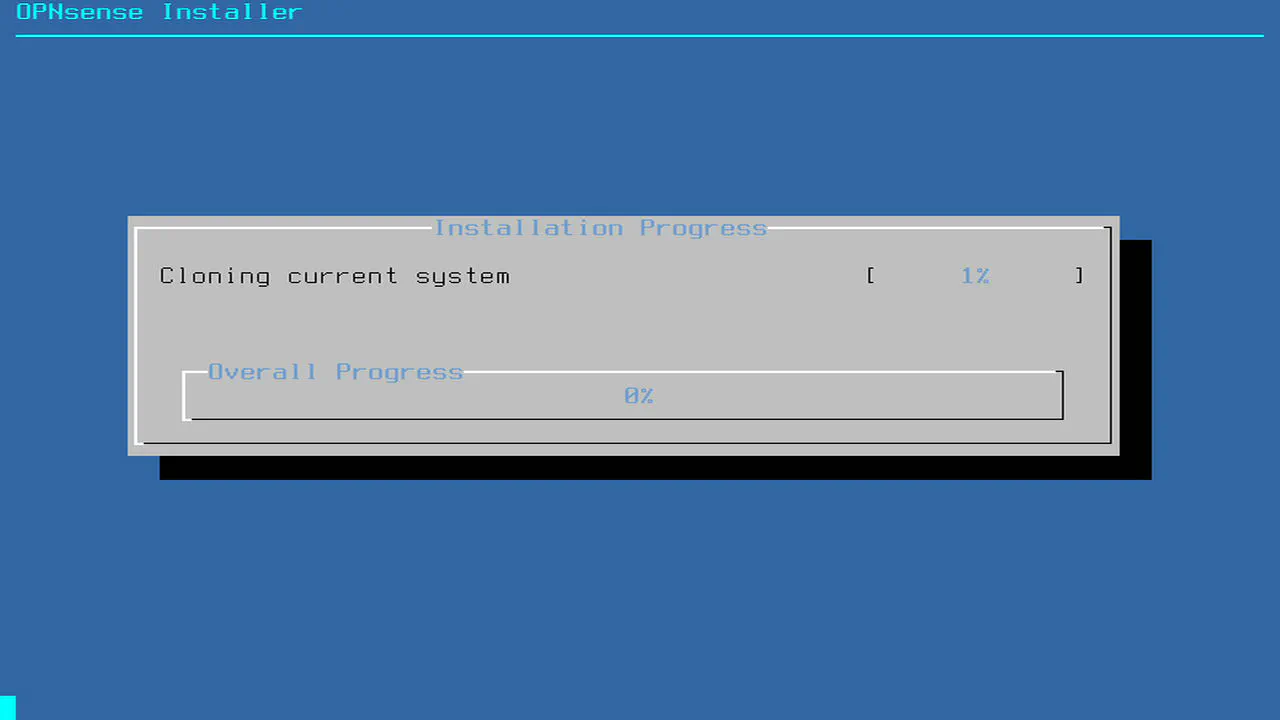
OPNsense should now be installing the system files.
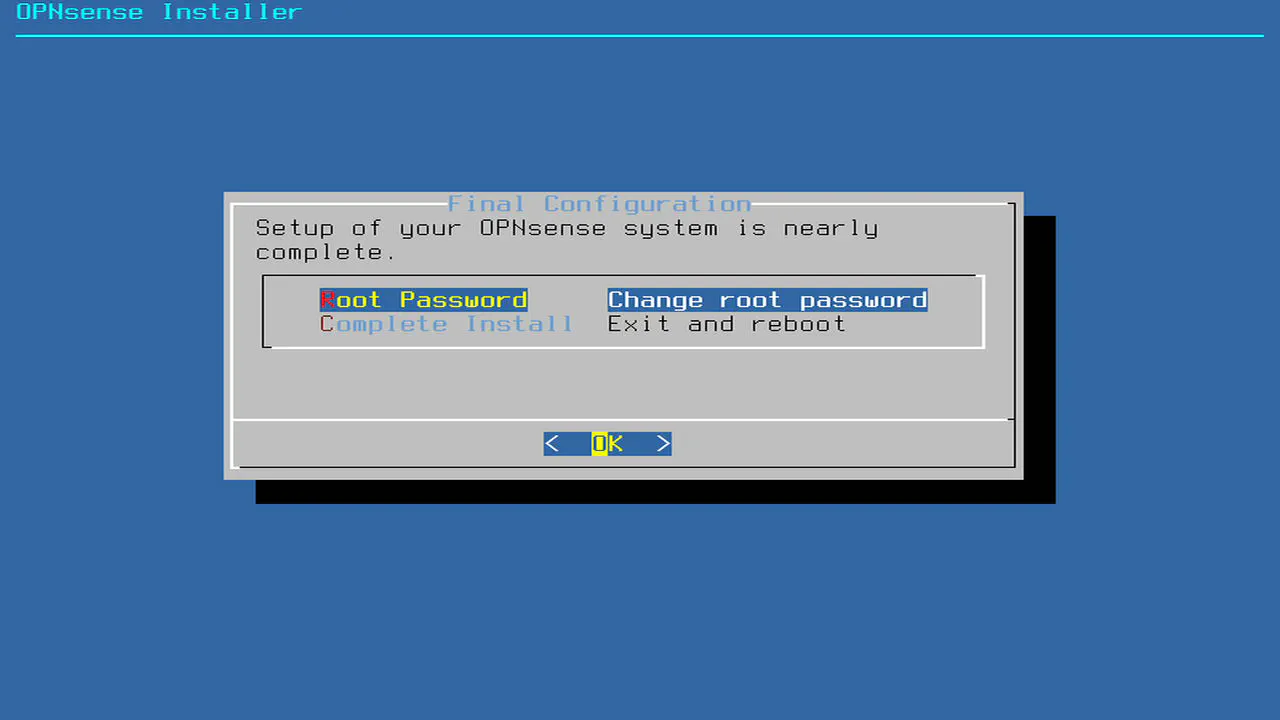
For security purposes, the recommendation is to change the default root user password. You should do this now so you do not forget later. The password can be changed later in the web interface if you decide to change it again.
Enter the new password.
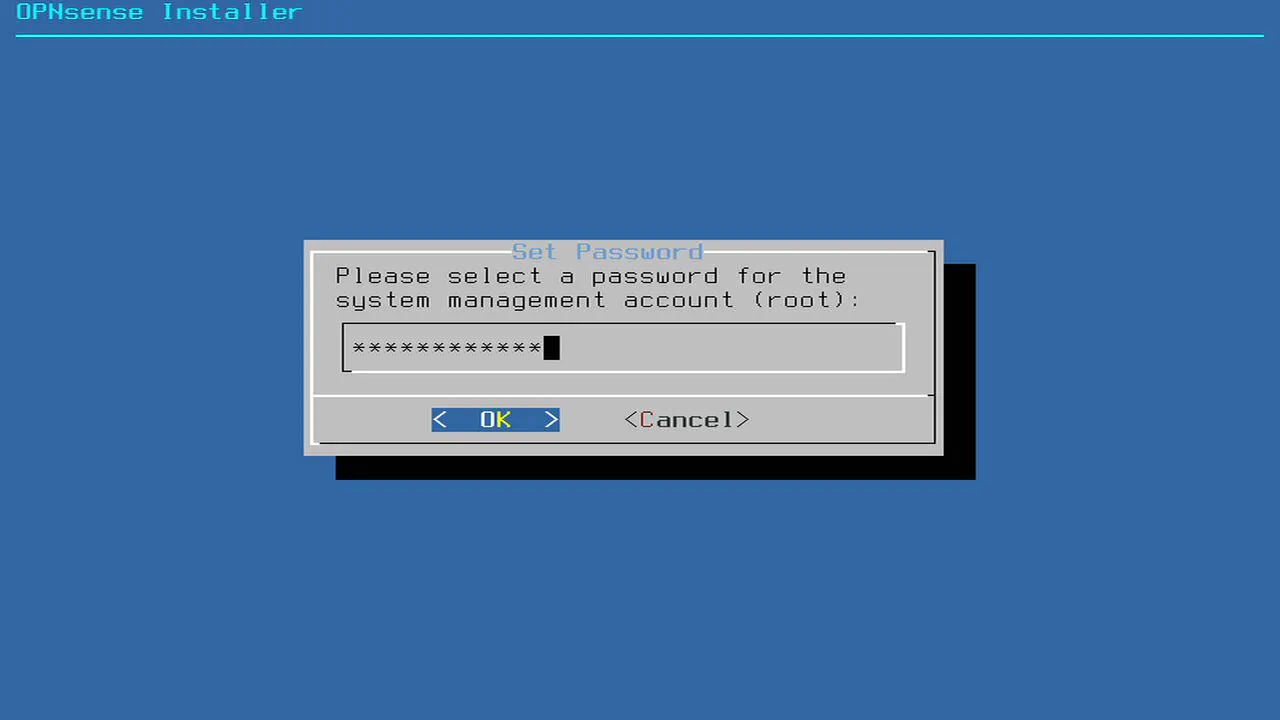
Enter the password again to verify you entered it correctly.
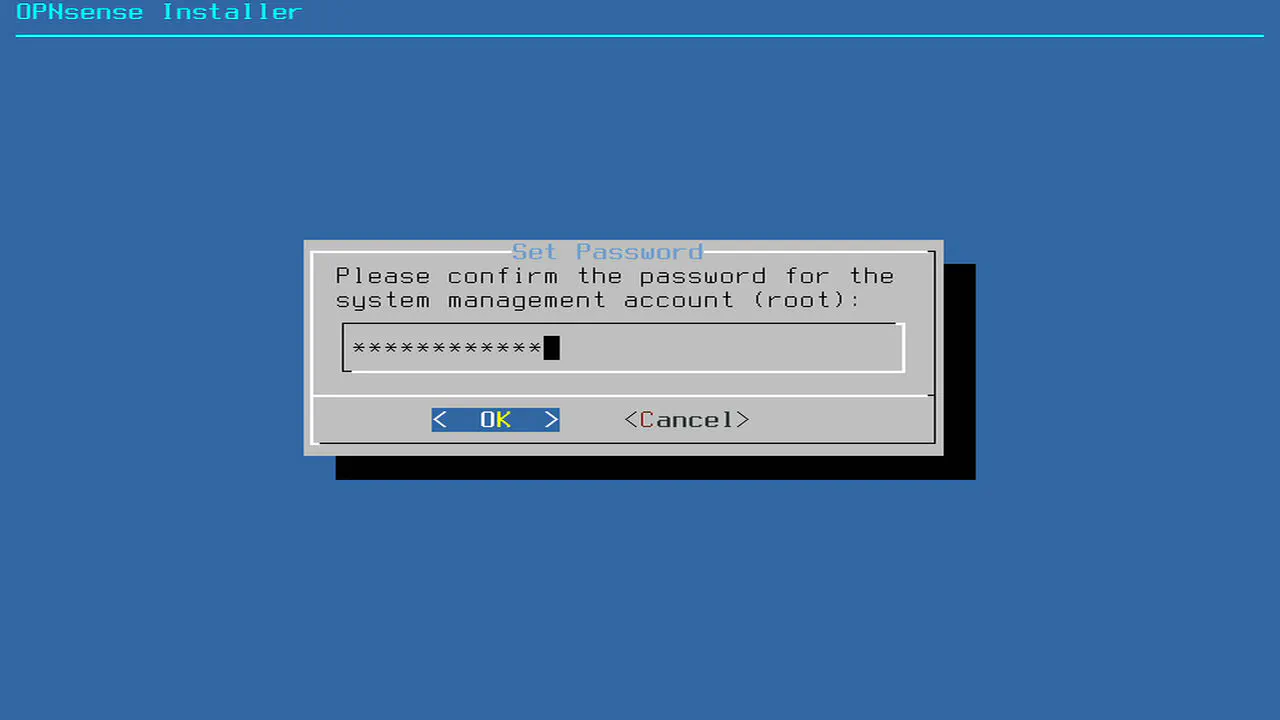
Press “Enter” to exit and reboot your system.
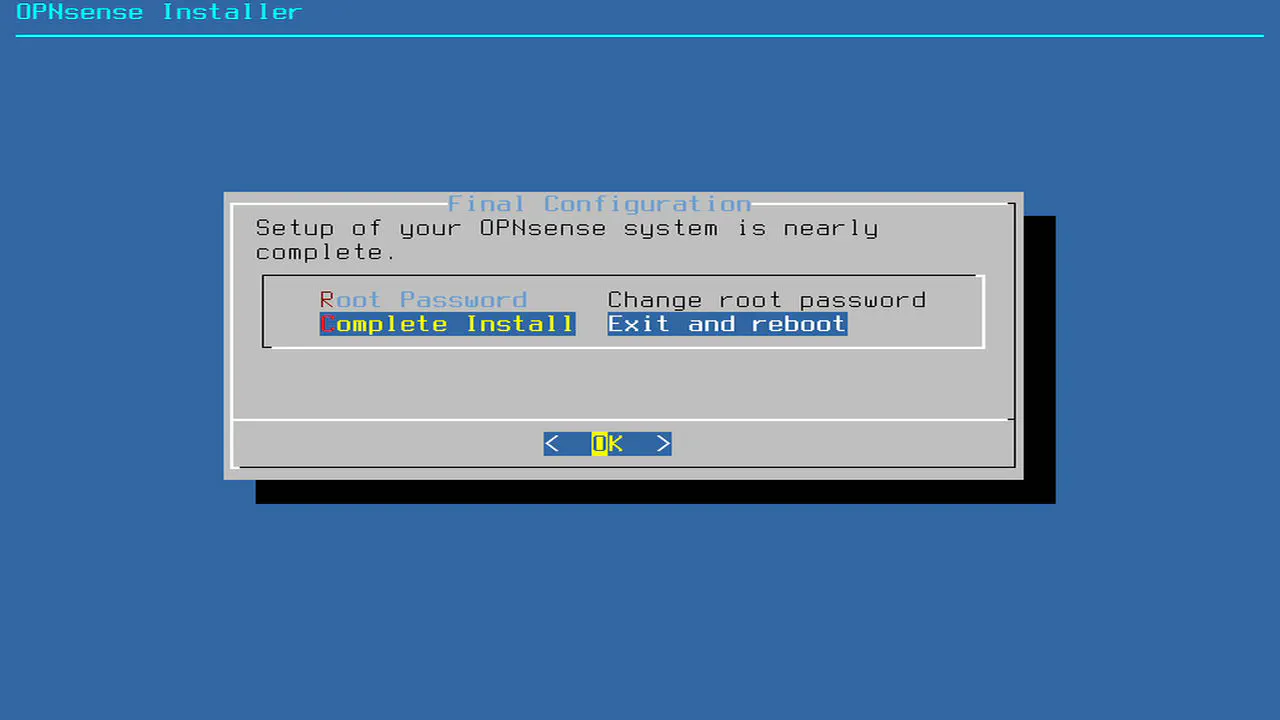
OPNsense is now installed! You can unplug your USB drive or eject your DVD disc depending on the medium used to install OPNsense since you will no longer need it.
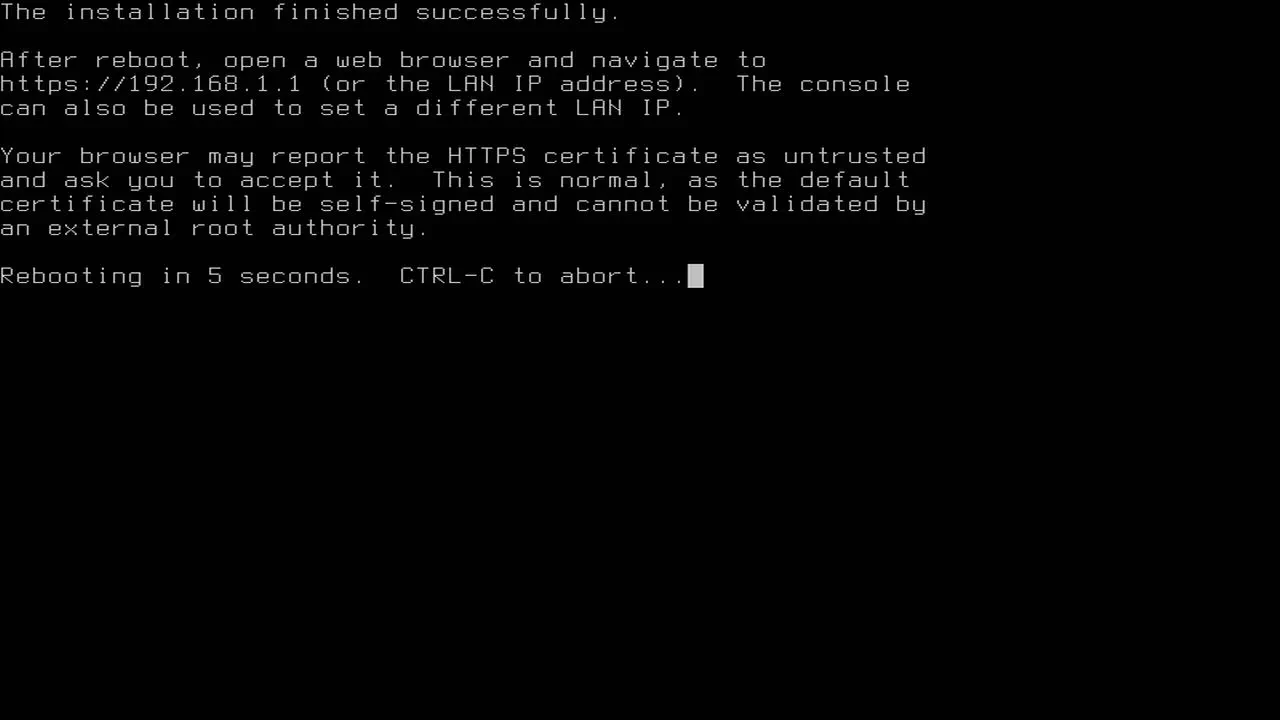
At this point if you have done already done so, I recommend you plug a network switch into the LAN port on your OPNsense system so you are able to plug in more than one device to your LAN network. Then plug at least one PC/laptop into the switch so that you can continue with the OPNsense configuration via the web interface. DHCP should automatically be configured for the LAN network. When you plug into a switch, your system should be able to obtain an IP address like it would with a consumer grade router.
You should see something similar to the following screen after OPNsense has booted.
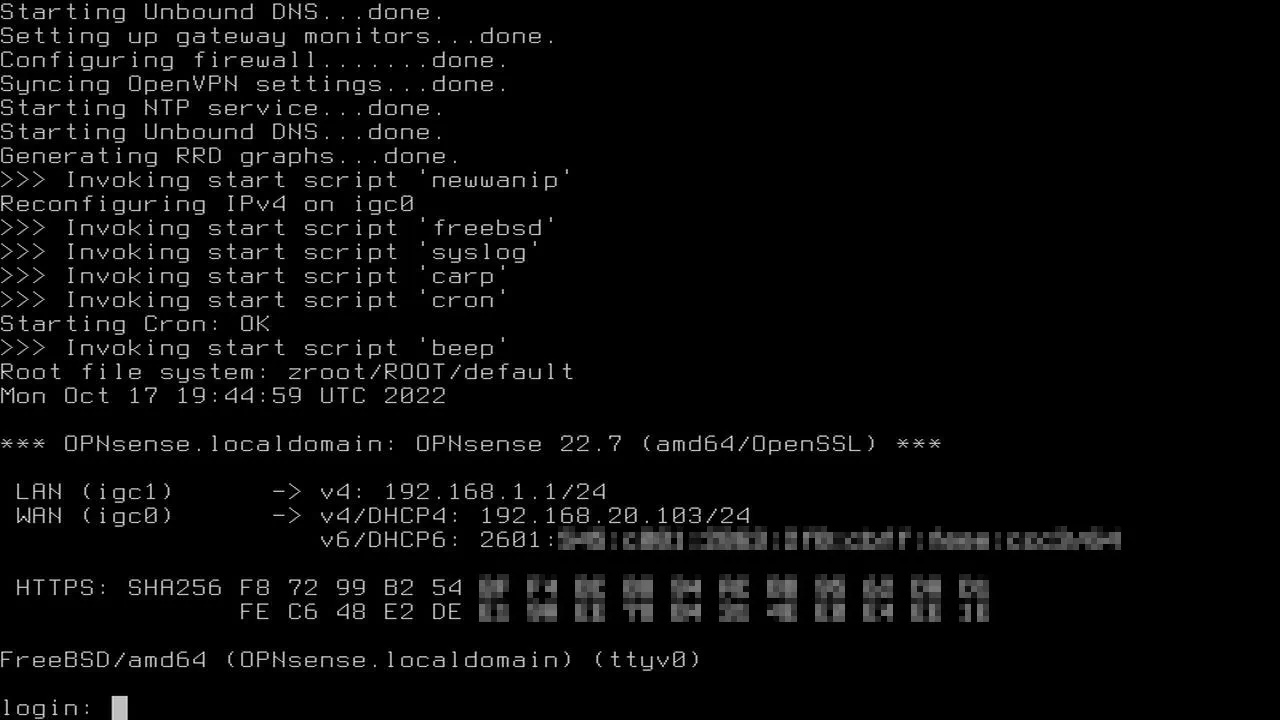
Configure OPNsense
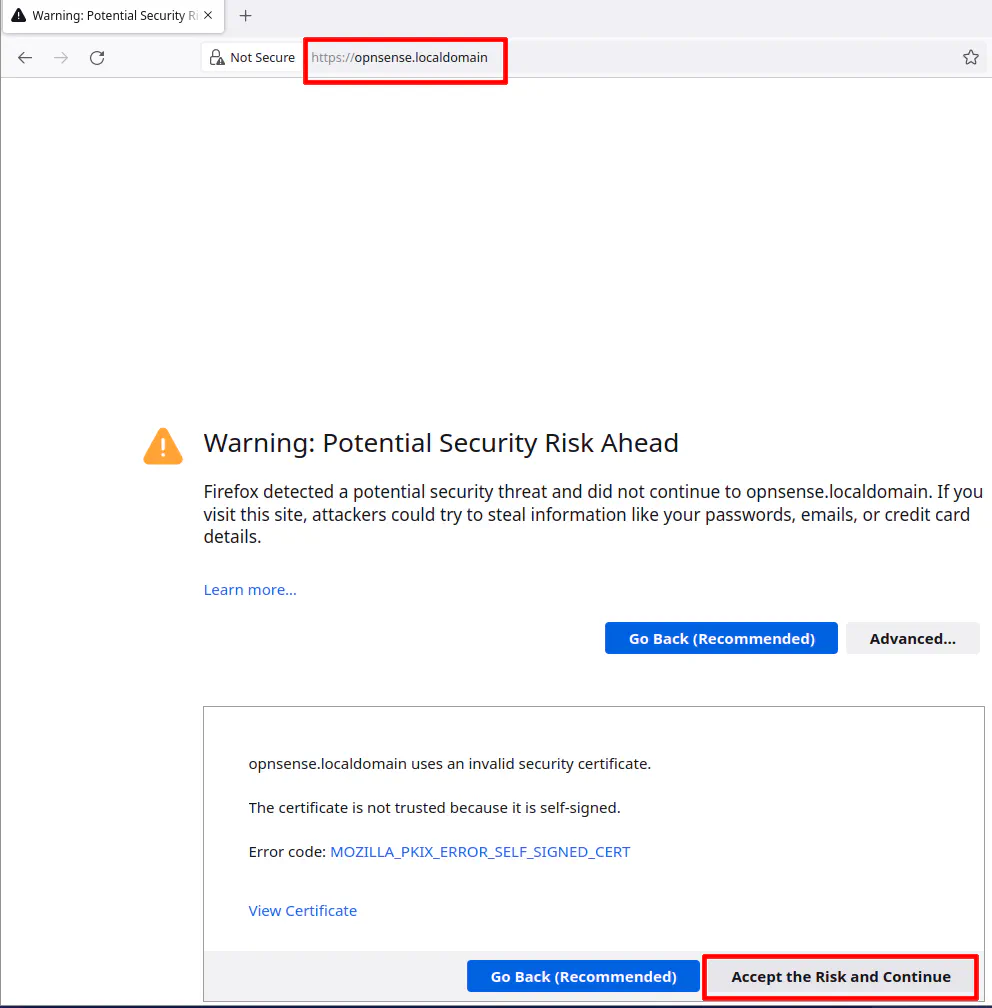
From the system connected to the LAN network of OPNsense, you can access the OPNsense web interface using the default hostname/domain name of the new OPNsense installation: https://opnsense.localdomain (or if you prefer IP addresses, you can use https://192.168.1.1). You should click the “Accept the Risk” prompt since OPNsense is using a self-signed certificate that is generated during the installation.
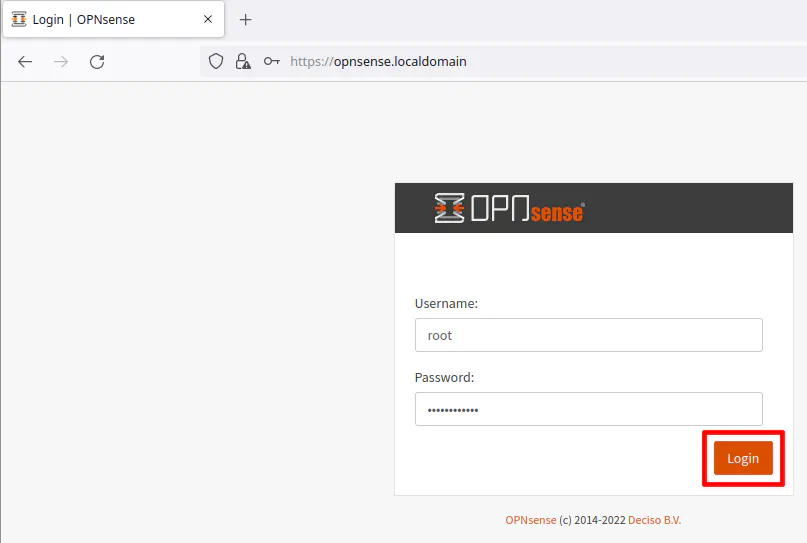
Login with the root user with the password you set during the installation process.
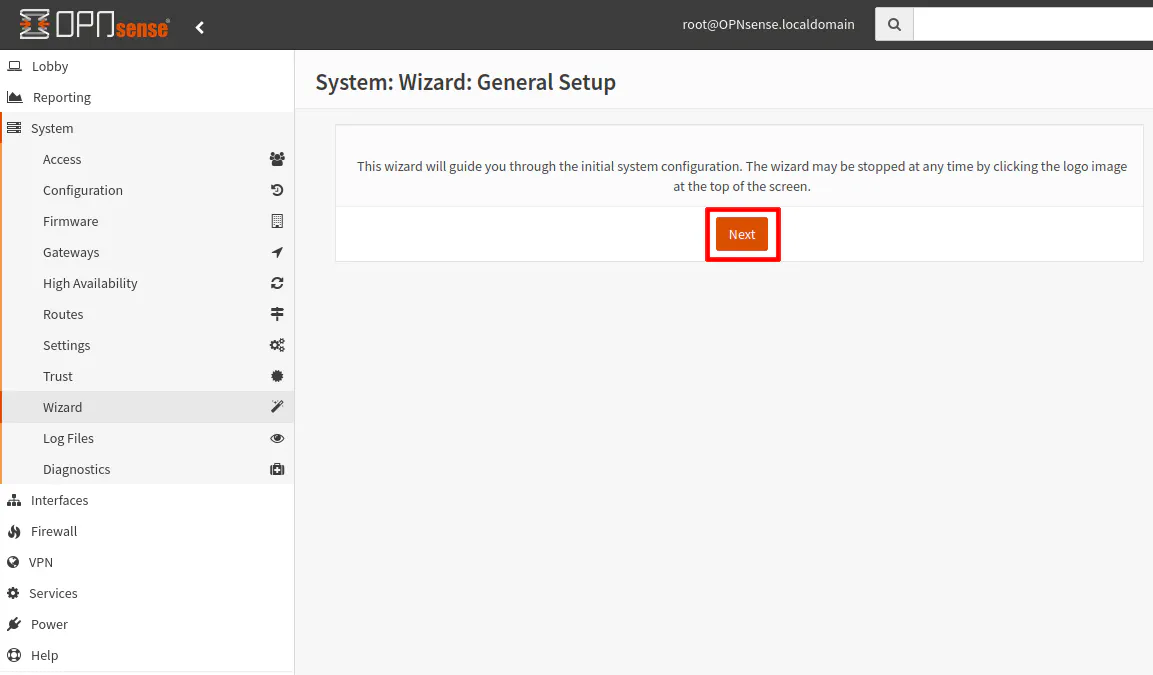
When you log into the OPNsense web user interface for the first time, you will be prompted to complete a general setup process. While it is not required to complete the wizard, I recommend new users go through the wizard to help guide you through a few basic settings that you may wish to change according to your preferences. Click “Next” to continue.
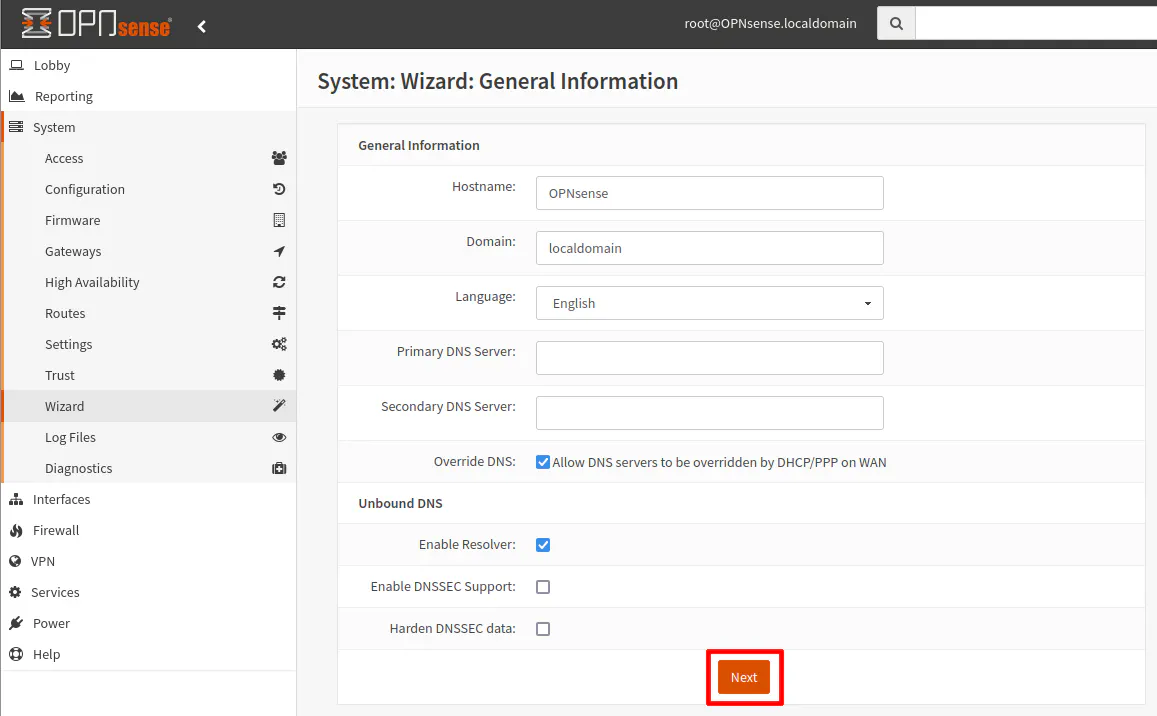
If you prefer, you may change the “Hostname” of OPNsense to some other name such as “router”.
Likewise, you can change the “localdomain” to some other domain. You can use any domain name that is not real or a domain name you own. The reason is that it would conflict with the real domain name if you happen to visit the website or any services that use that domain name.
For all of the DNS settings, if you leave everything at the default, your OPNsense installation will behave similar to a consumer grade router. Your ISP DNS servers will be used. That is what the “Override DNS” option does – it will prefer your ISP DNS over any DNS servers you provide. If you wish to use alternate DNS servers such as 1.1.1.1 or 8.8.8.8, you need to uncheck the “Override DNS” option and enter the DNS servers in the “Primary DNS Server” and “Secondary DNS Server” boxes. If you know your ISP or your specified DNS servers support DNSSEC, you can also check the “Enable DNSSEC Support” box (and hardening the DNSSEC data likely is ok to select unless the setting is incompatible with your DNS server).
I would recommend leaving all the DNS settings at the default settings unless you are comfortable changing them and know the impacts of such changes. Once you gain a greater understanding, you can change the DNS servers at a later time. Click “Next” to continue.
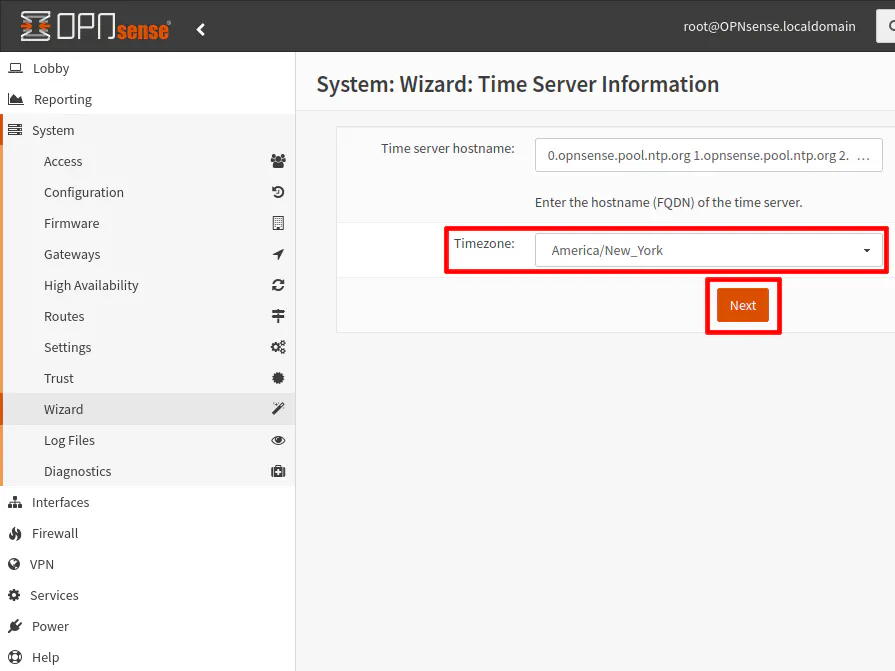
The main setting you may want to change on this screen is to set your local timezone. If you prefer to use other time servers, you can replace the default OPNsense timeservers. Click “Next”.
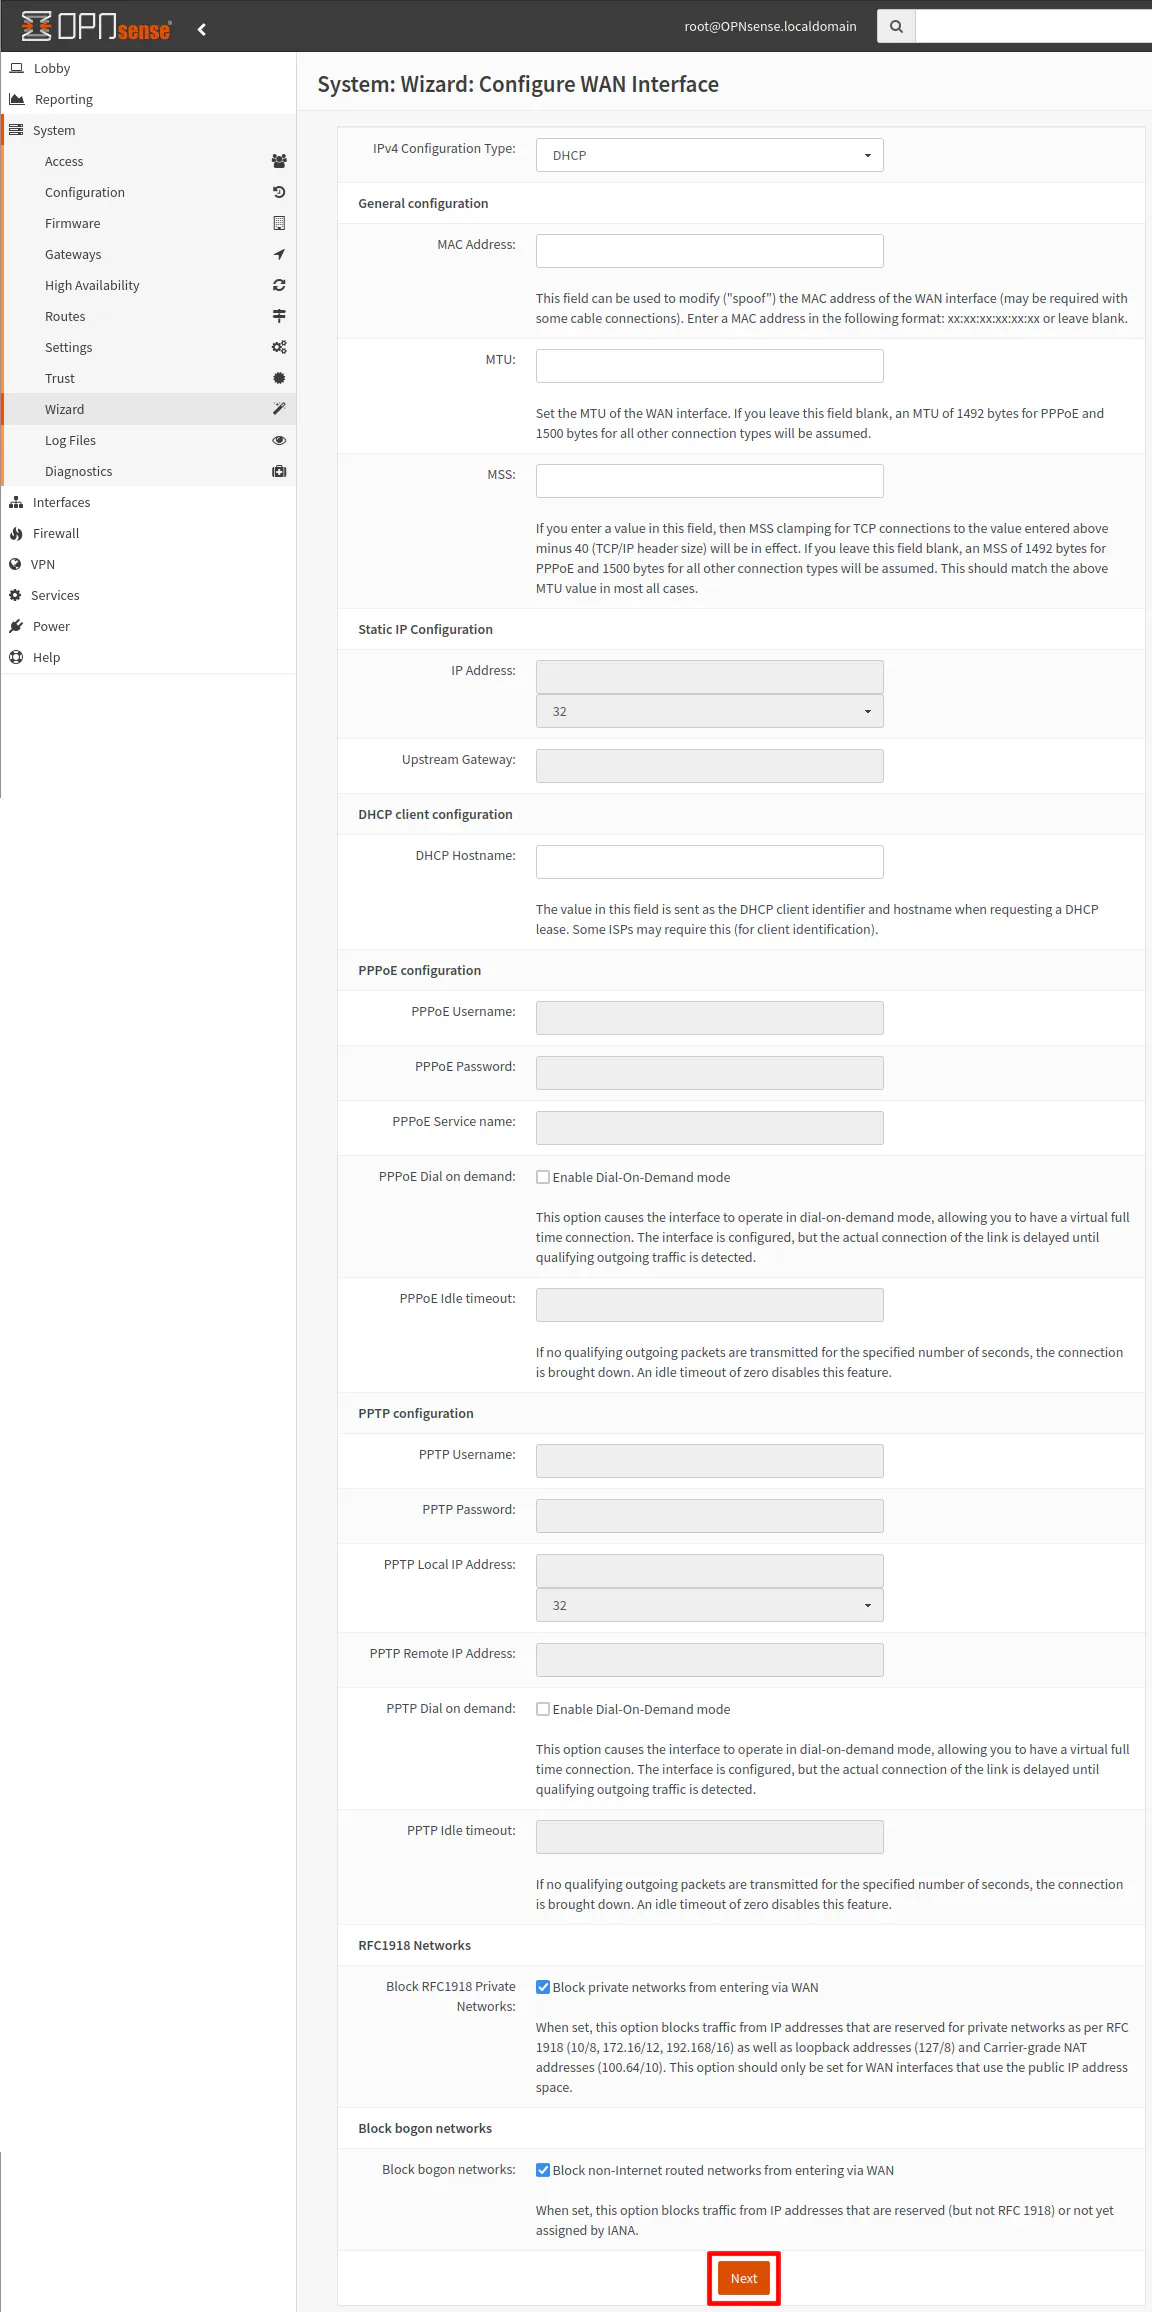
The WAN interface configuration page has a bunch of settings available since there are various ways to connect to the Internet. If you happen to have an ISP where you can use DHCP, you may simply leave everything at the default setting and click “Next”. However, other ISP configurations may be more complex and OPNsense provides a number of ways you can connect to your ISP.
If you are planning to use your OPNsense router behind your ISP router, you will need to uncheck the “Block RFC1918 Private Networks” and the “Block bogon networks” boxes so that your WAN interface can operate correctly on your local network. Otherwise, all local network traffic will be blocked and you will have trouble accessing the Internet through your ISP provided router.
For the sake of simplicity of this guide, I am going to assume you are using OPNsense as your primary router. Click “Next” once you have entered the appropriate settings.
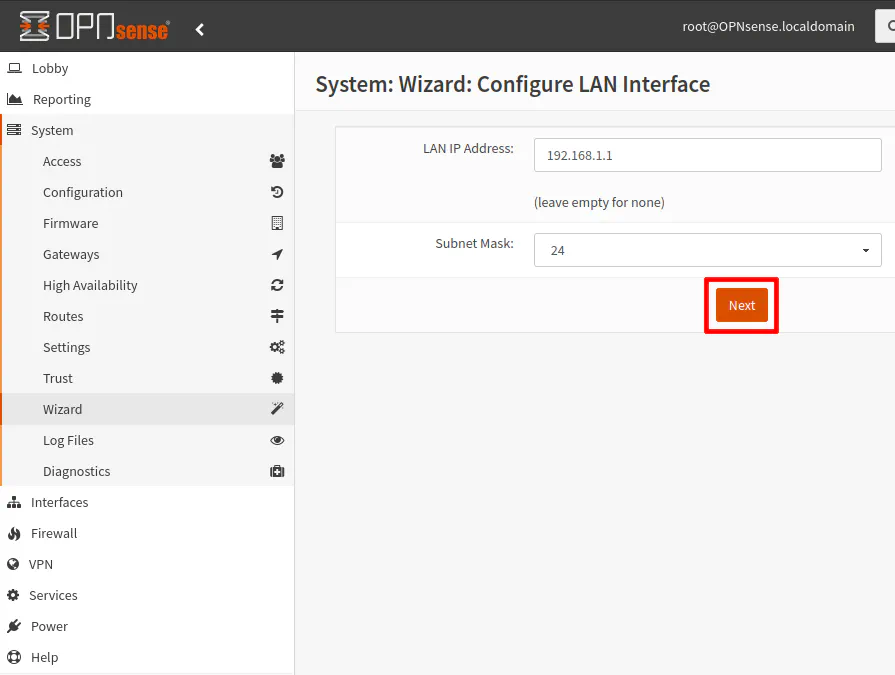
In comparison to the WAN interface, the LAN interface settings appear to be very simple. The setup wizard does not provide the full set of available configuration options for the LAN interface (possibly due to the fact you could end up losing connection or locking yourself out of the web interface if you are not careful).
Keep in mind if you change the default network addresses for the LAN, you will lose connection at the end of the wizard and will either need to reload your DHCP lease or disconnect/reconnect to your network to obtain a new IP address (that is assuming the wizard also sets up the appropriate DHCP address ranges – I have not personally tested it).
To keep things simple for a basic OPNsense installation, simply click “Next” without making any changes.
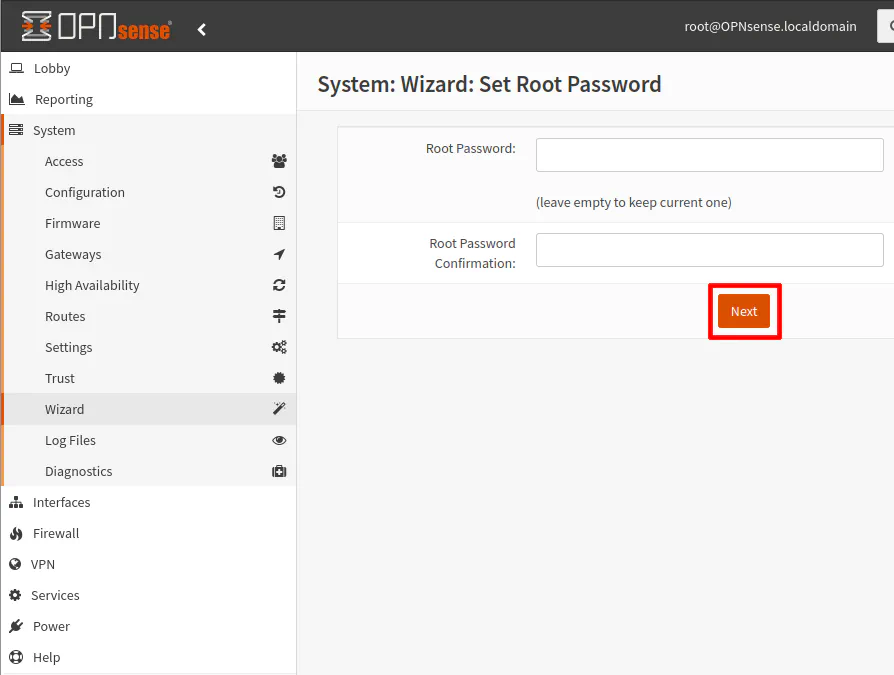
If you already changed your root user password during the installation process, simply click “Next” since you do not need to change it again. This would be a great time to change the default password if you did not do so during the installation process.
It would be quite silly to leave the default password unchanged when you are installing a very secure router/firewall OS like OPNsense – do not leave the front door unlocked in an otherwise secure building!
Click “Reload” to apply all of the changes you have made so far. If you changed the hostname/domain name, you may need to enter the new host/domain name to access the web interface again or simply use the IP address of the LAN interface.
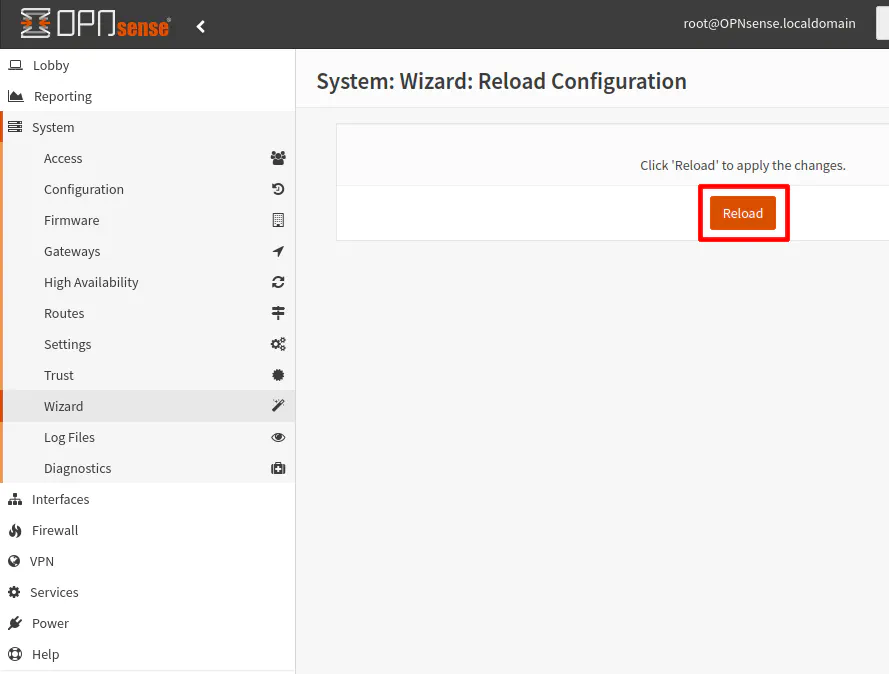
You will see a status message of the configuration reloading.
All changes have been applied!
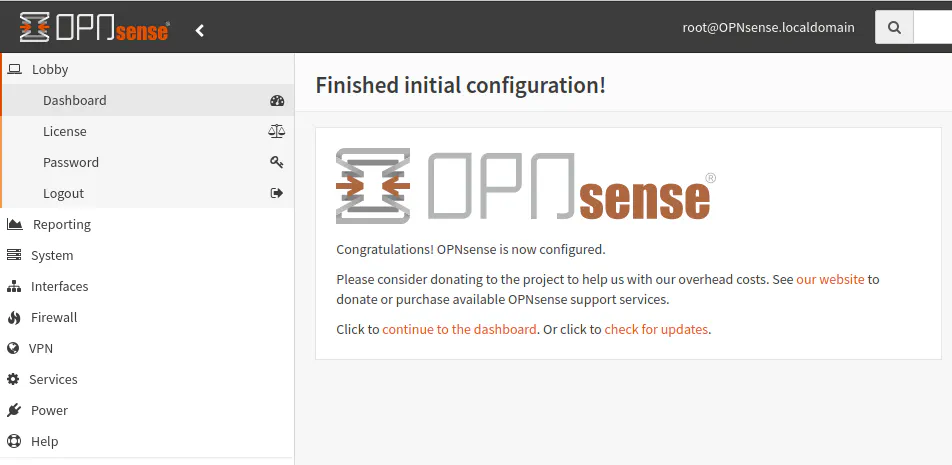
Now you may plug your router into your ISP modem if you have not already done so once you verify everything is working with devices on your LAN. Enjoy your new router/firewall!

